Essix Retainer Production Guide (Illustrated)
Essix Retainer Production Guide (Illustrated)
First, thanks to Dr. Liu Wenli for his guidance on this tutorial, and to Yuan Lintian Children’s Dental Hospital for providing the venue, instruments, and materials.
This content was created because I was responsible for teaching and guiding new intern friends. Explaining it to each person individually would be tedious work. The content is outdated and describes the vacuum-forming method. For reference only.
What is an Essix Retainer?
Essix Retainer, also known as a Vacuum-Formed Retainer: The vacuum-formed retainer was first reported by Dr. Henry Nahoum in 1964, and later improved by doctors like Robert Ponitz (1971) and James A. McNamara (1985), gradually being applied in orthodontic clinical practice. It is formed on a plaster model under vacuum (or positive pressure). Since the membrane is colorless and transparent, it does not affect aesthetics, hence it is also called an invisible retainer.
Advantages:
- Transparent, relatively discreet. Aesthetically pleasing.
- Comfortable, does not affect pronunciation.
- Better patient compliance compared to Hawley retainers, with potentially better results.
- Can be given to the patient on the same day. (This reduces both lab processing time and the number of patient follow-up visits.)
Disadvantages:
- The transparent membrane has thickness on the occlusal surfaces, so the upper and lower teeth cannot close fully. If too thin, the retention effect is poor and it is prone to breakage; if too thick, the separation between the jaws is excessive, and long-term wear may potentially affect the bite and TMJ.
- In terms of service life, vacuum-formed retainers may deform or crack in some cases after being worn for more than 6 months.
Now that we understand this much, I believe everyone is eagerly rubbing their hands together.
Let’s get started!
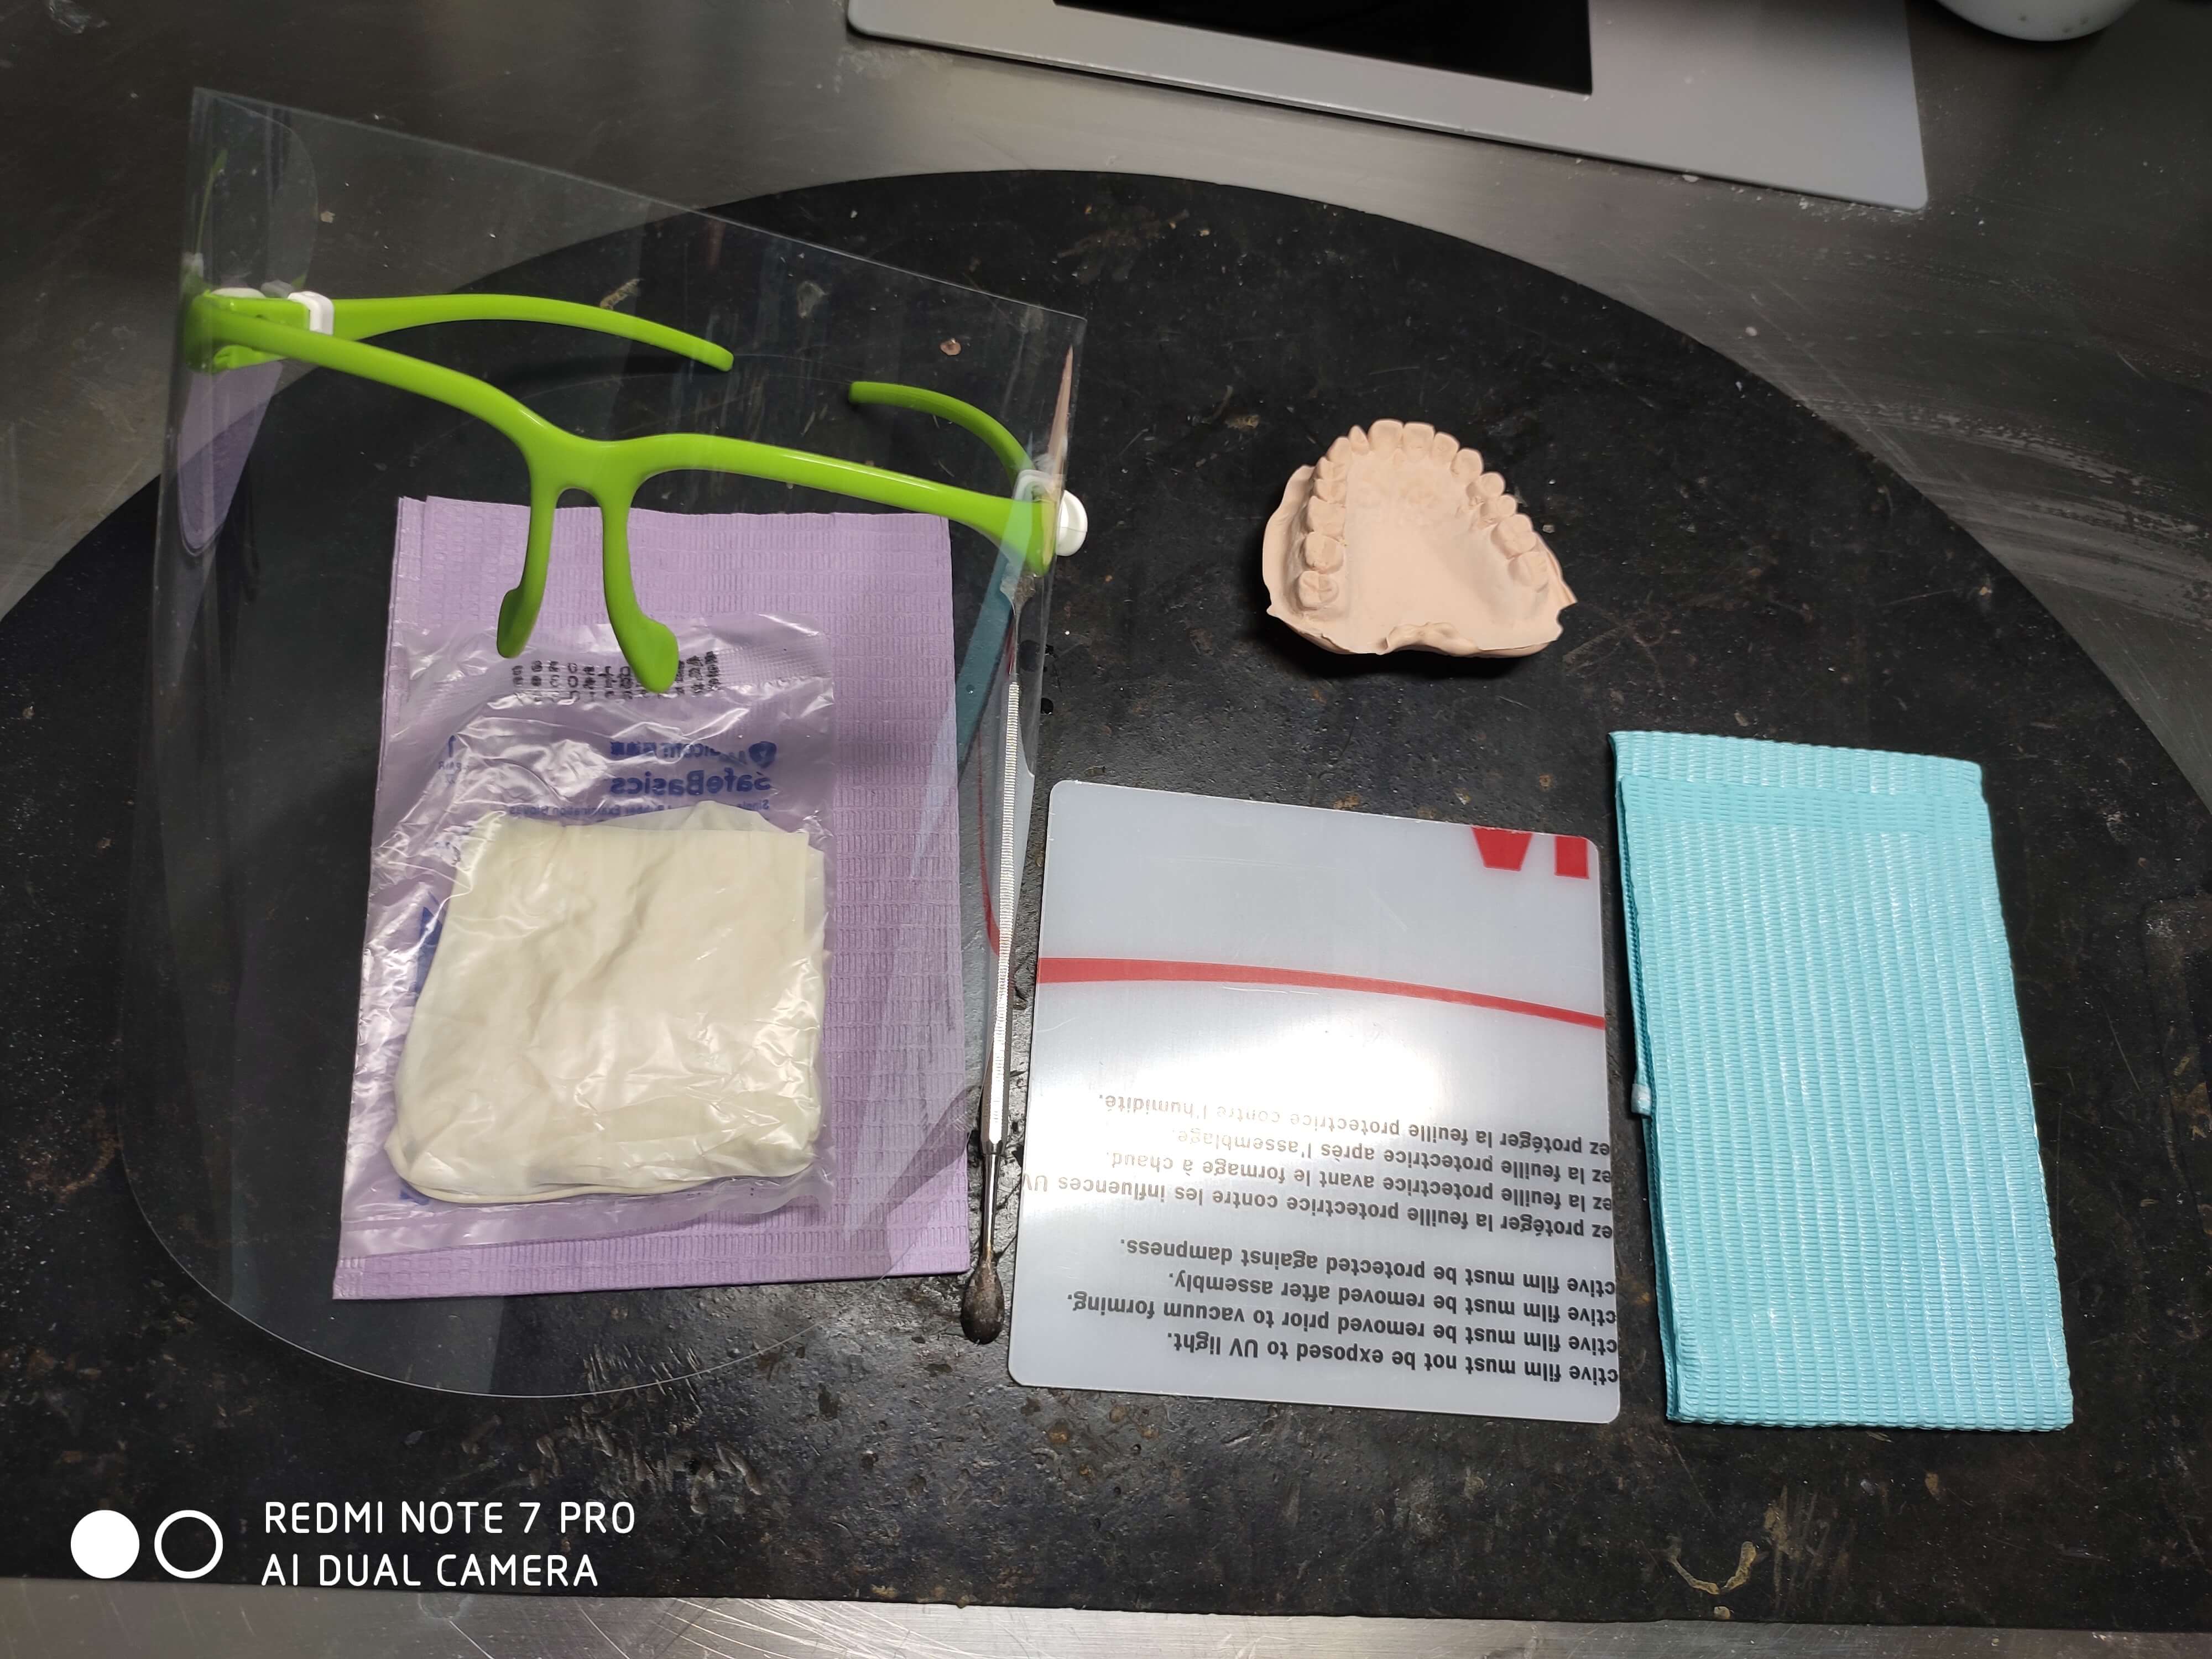
Preparations
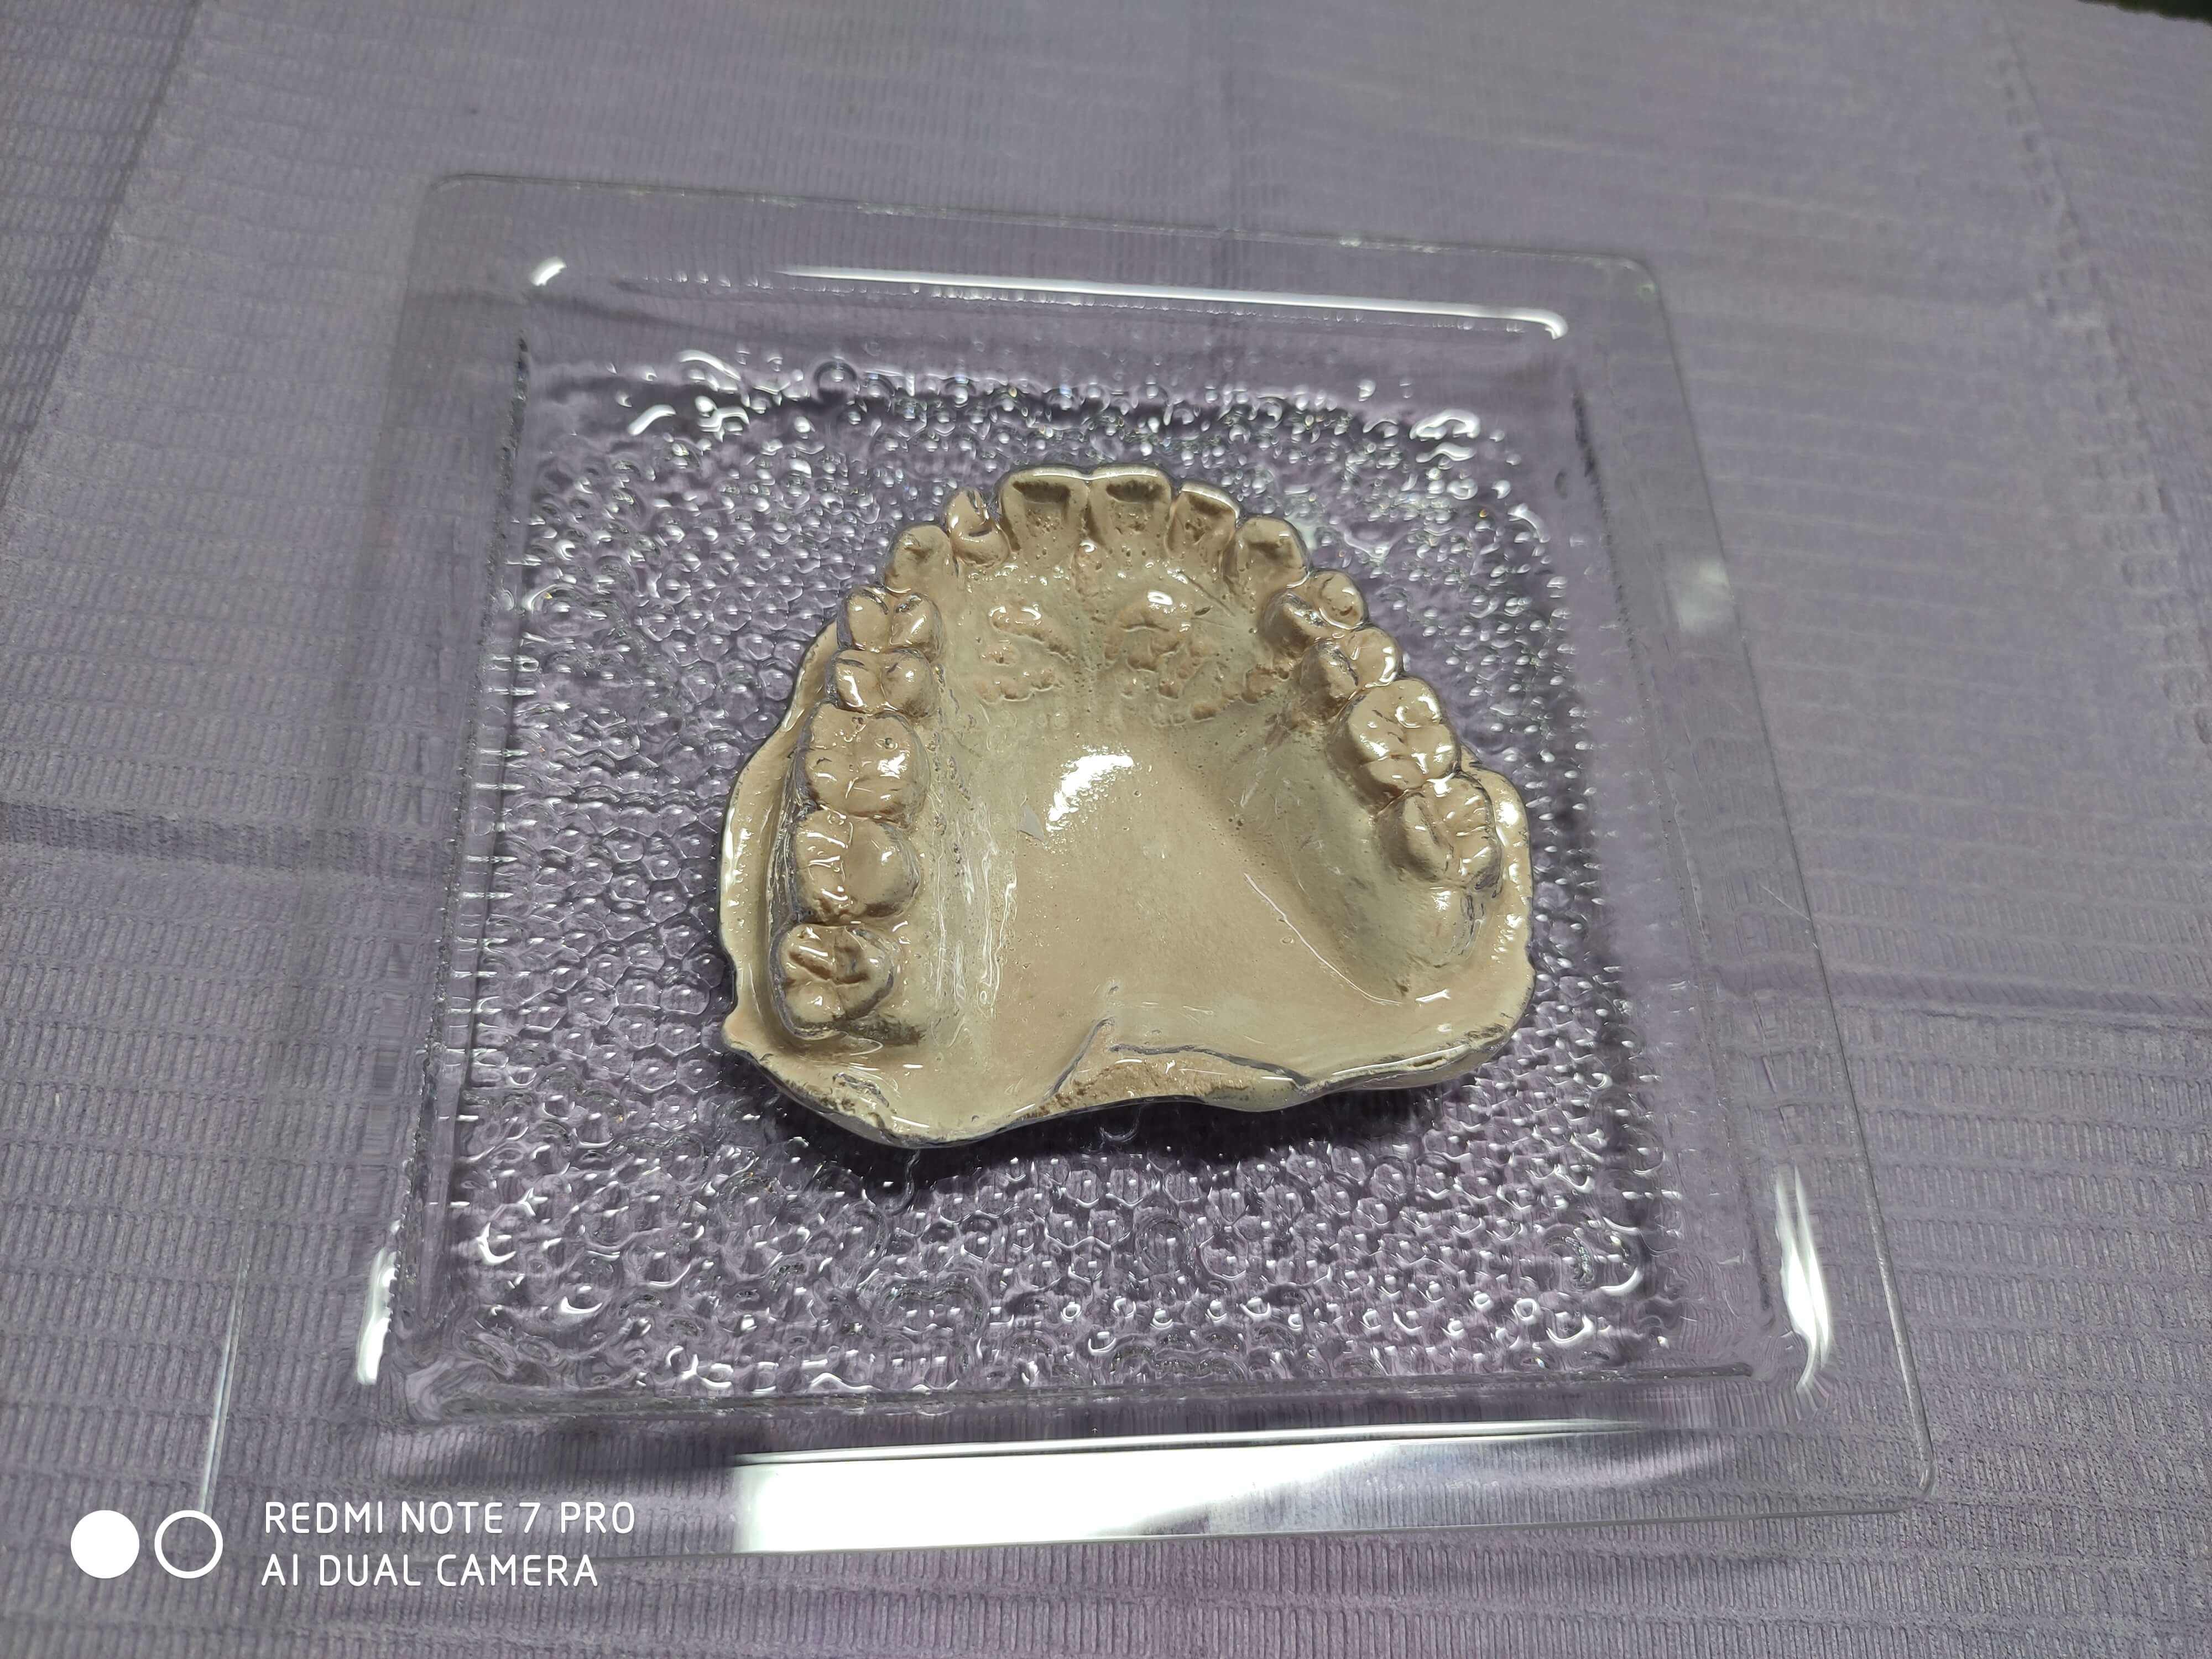
- Plaster model
- Carving knife
- Pressure-forming sheet (plastic sheet for retainer)
- Protective equipment
- Grinding machine (or you can use a #15 surgical blade to craft by hand)
- Vacuum former machine
- …
Production Process
Trimming
- Please remove the taken model (
If you break it by using excessive force, go face the wall and reflect). - Trim the edges with model trimmers and a model trimmer.
- Use a carving knife to trim excess nodules/margins at the gingival border.
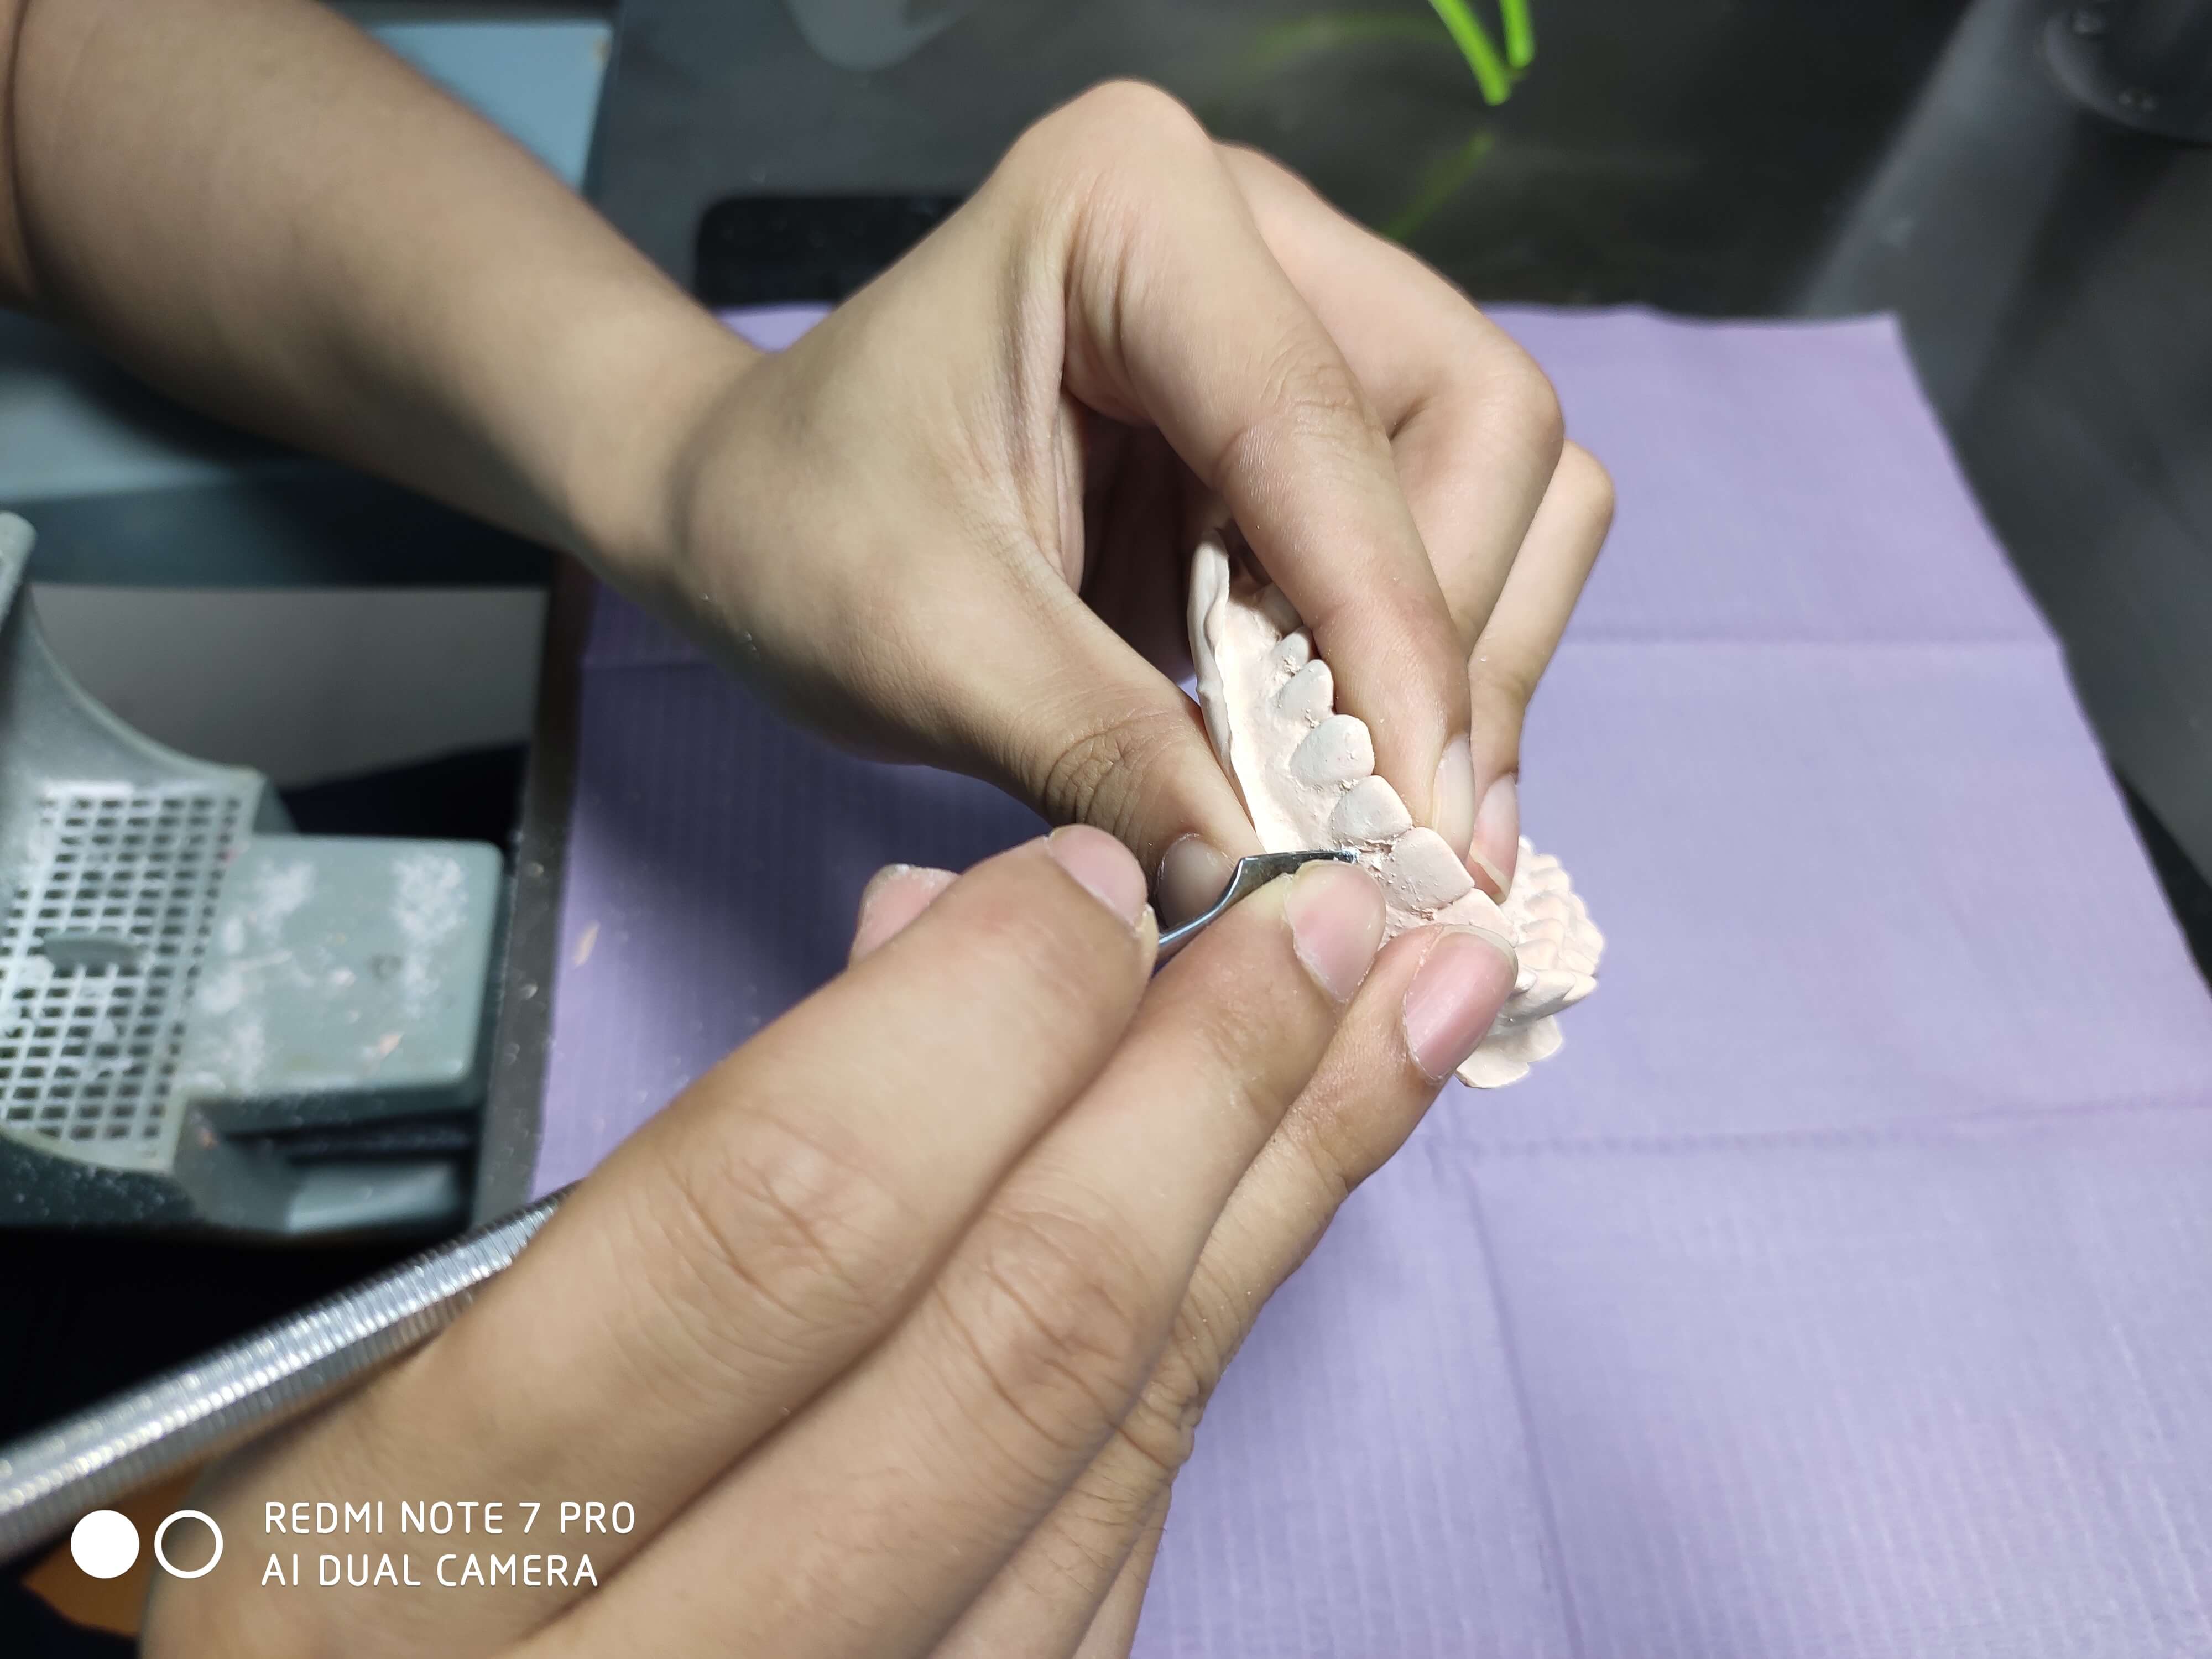
Please prepare protective equipment. High-energy warning ahead!
Vacuum Forming
- Prepare the pressure-forming sheet, the model, and the
powered-onvacuum former machine.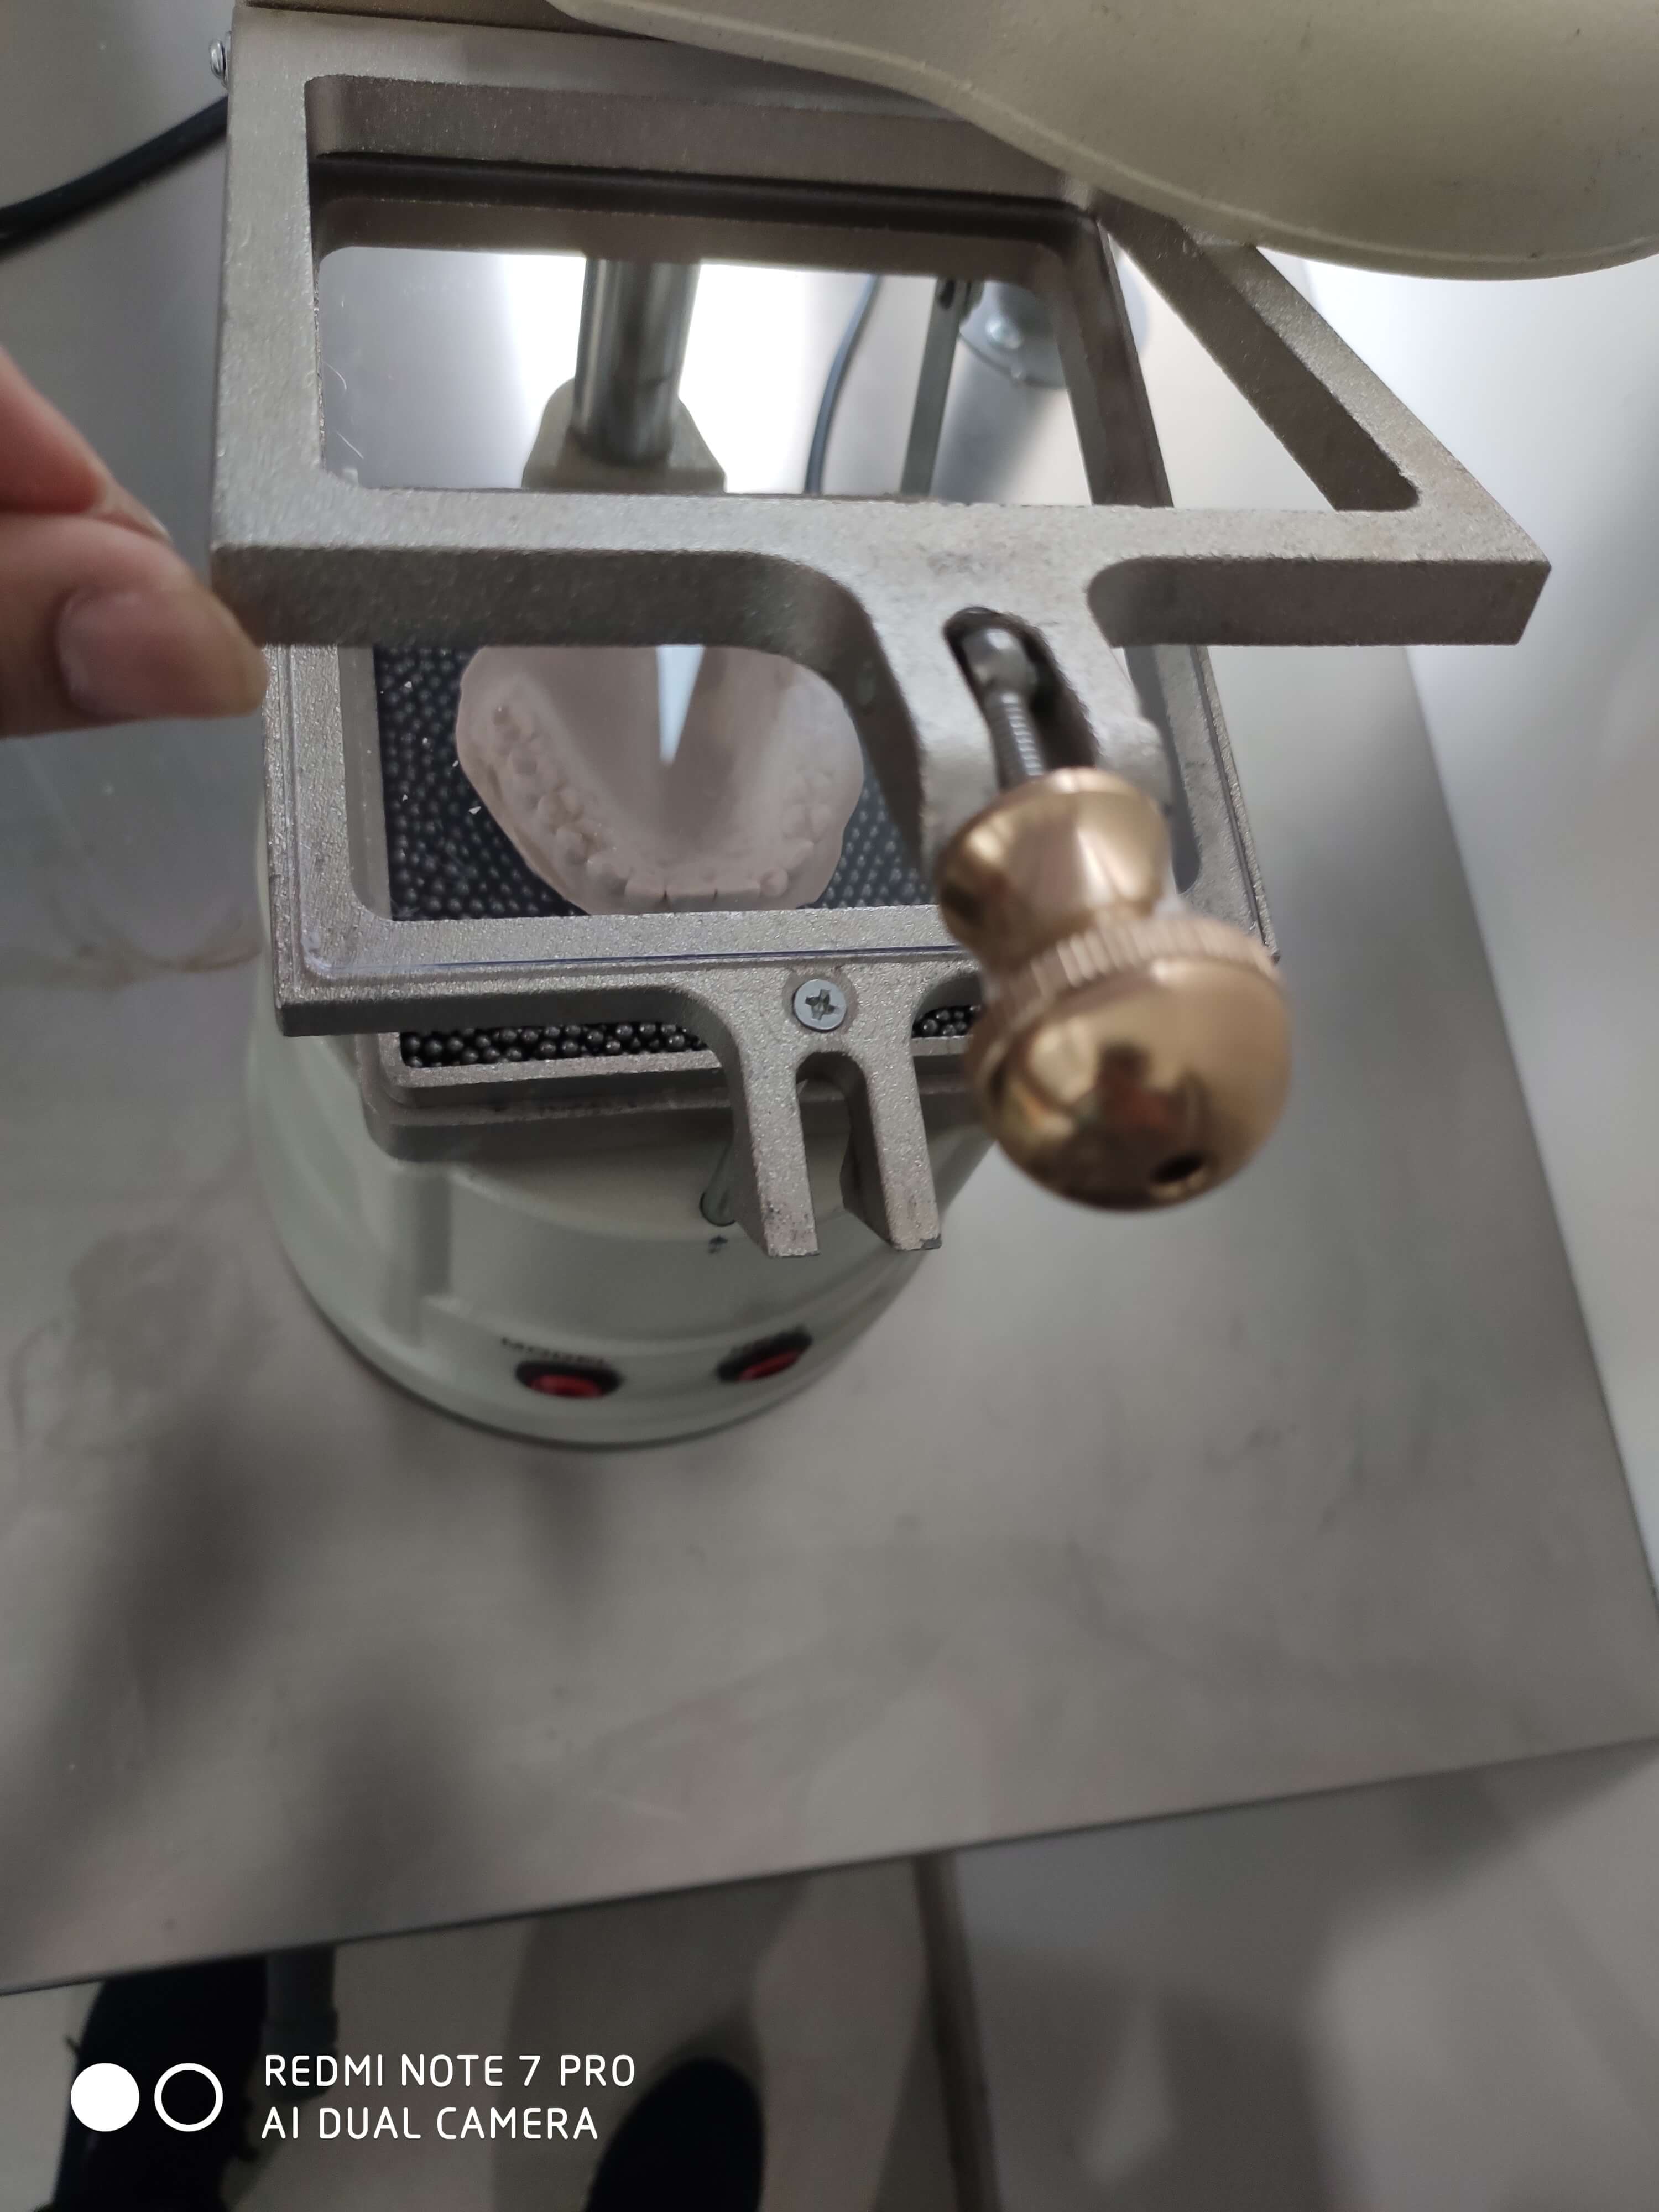
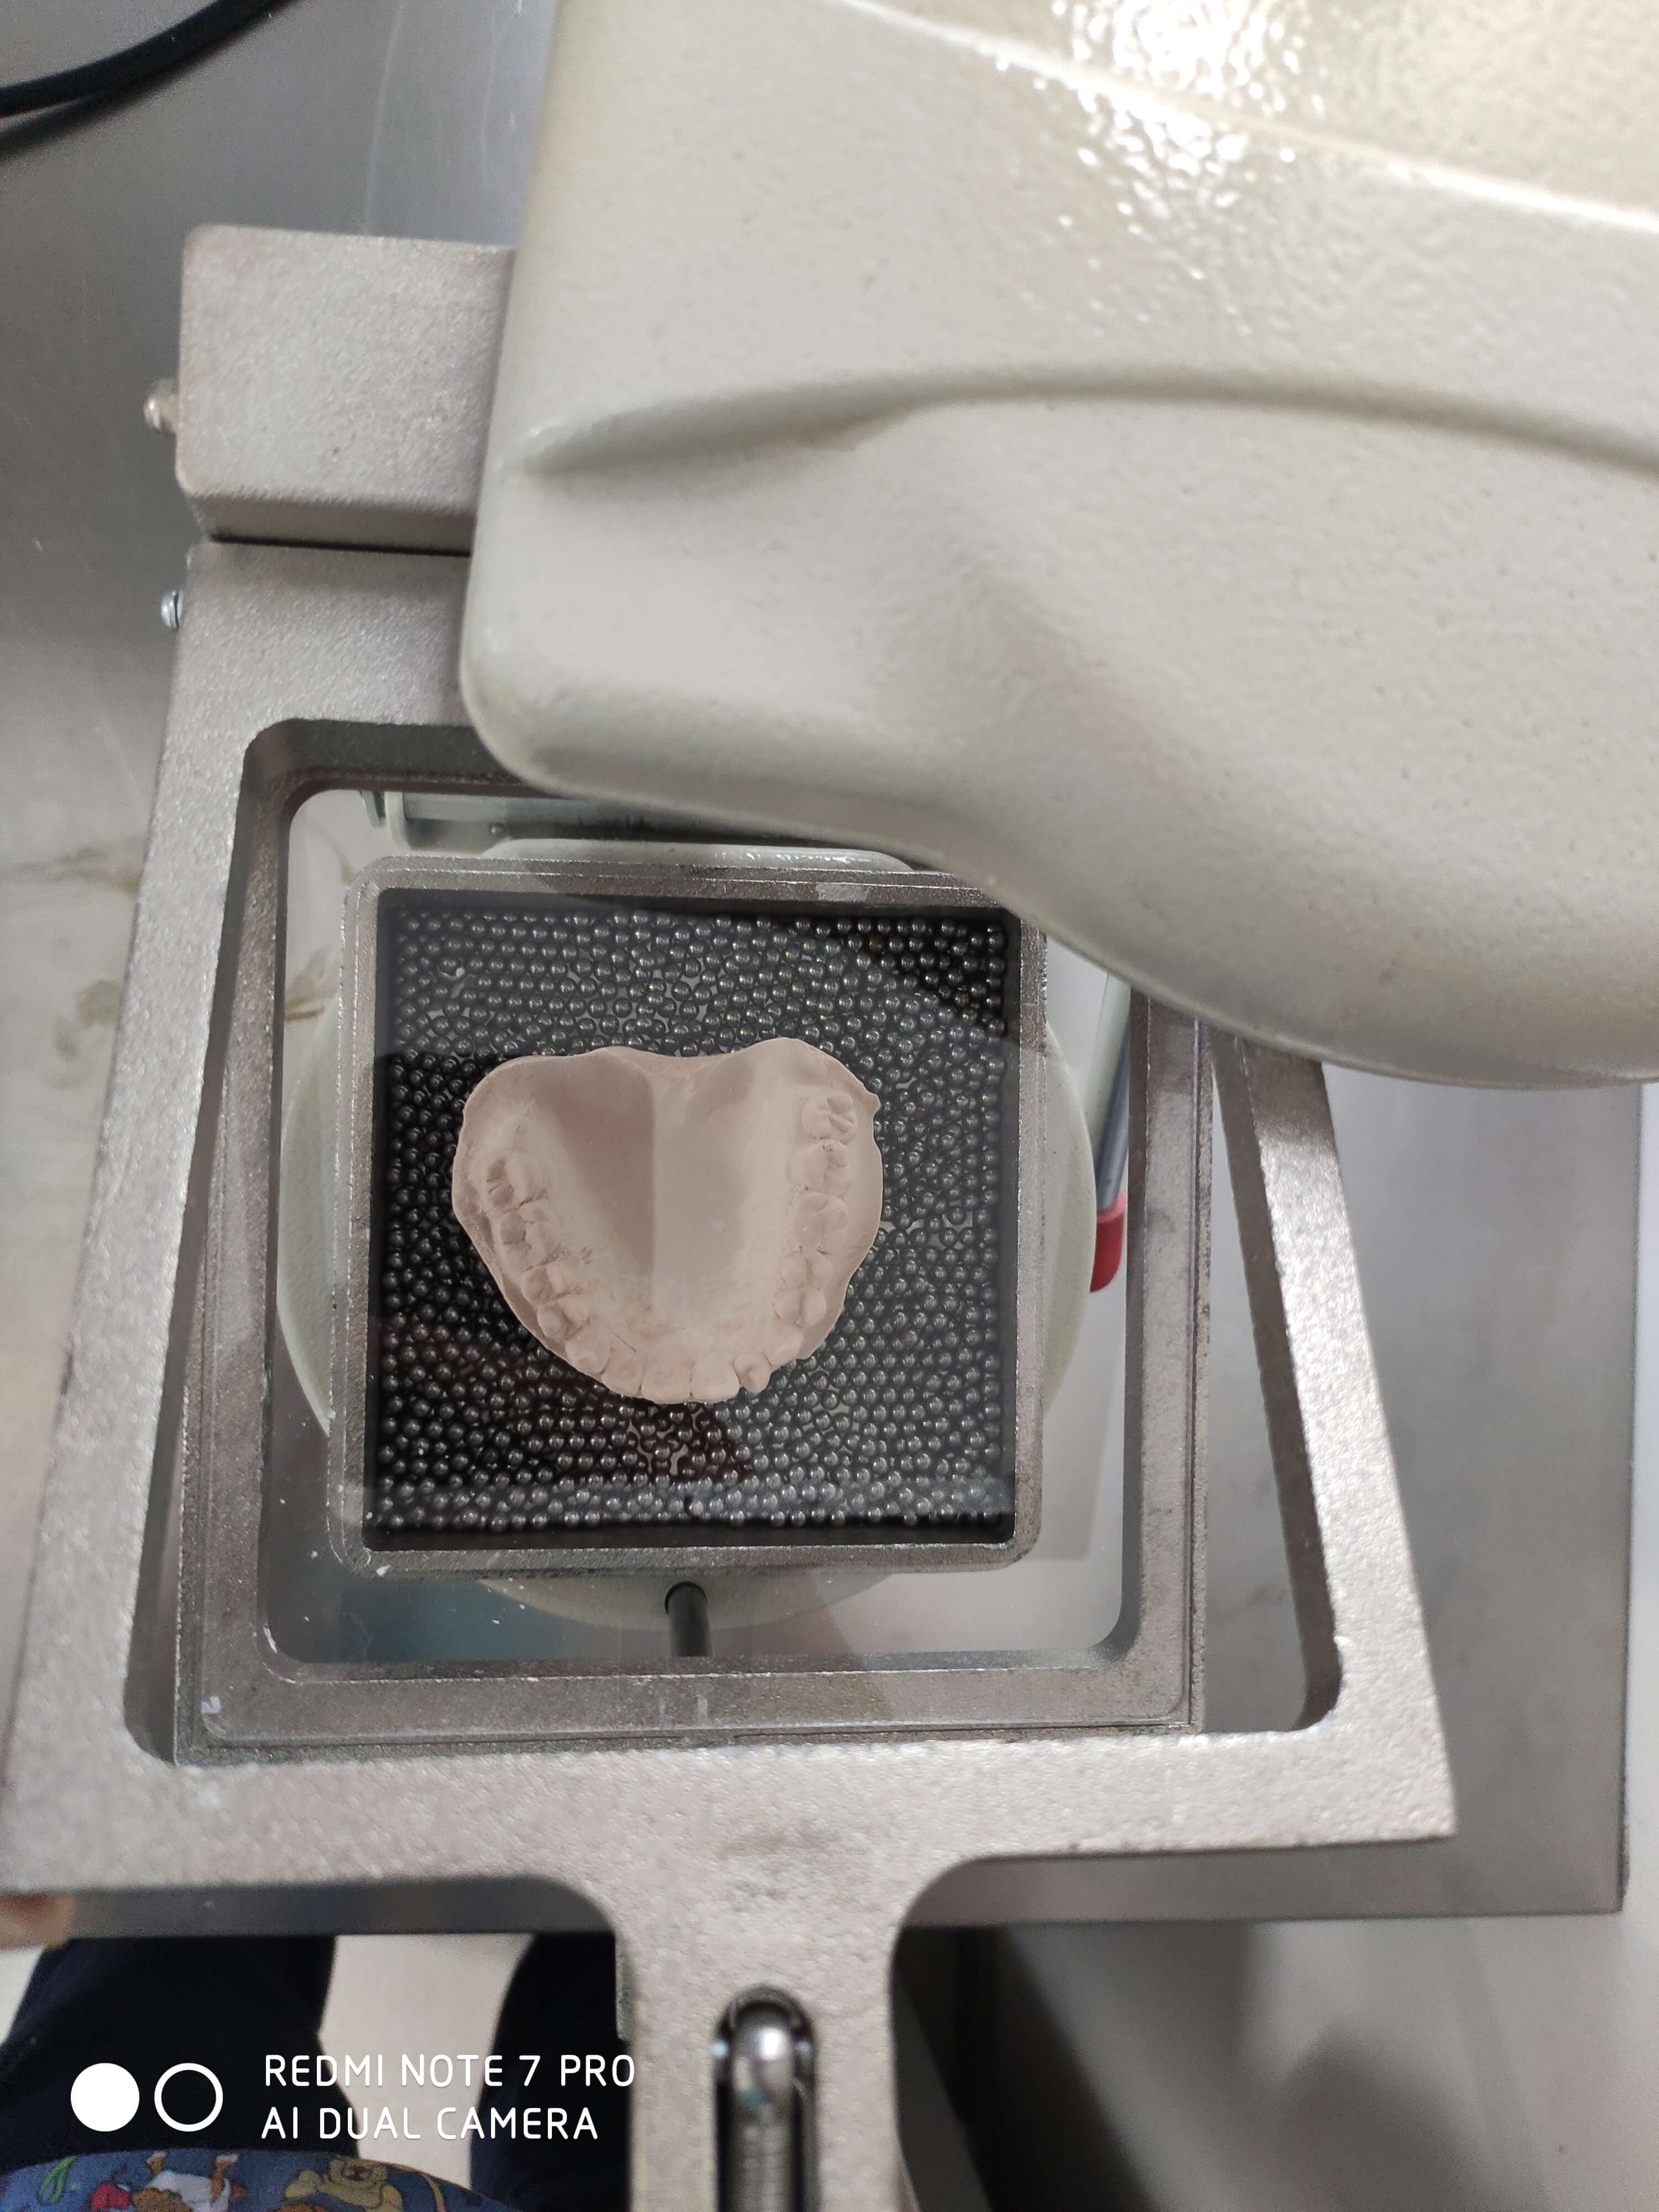
- Turn on the heating button. Wait until the pressure-forming sheet is completely heated.
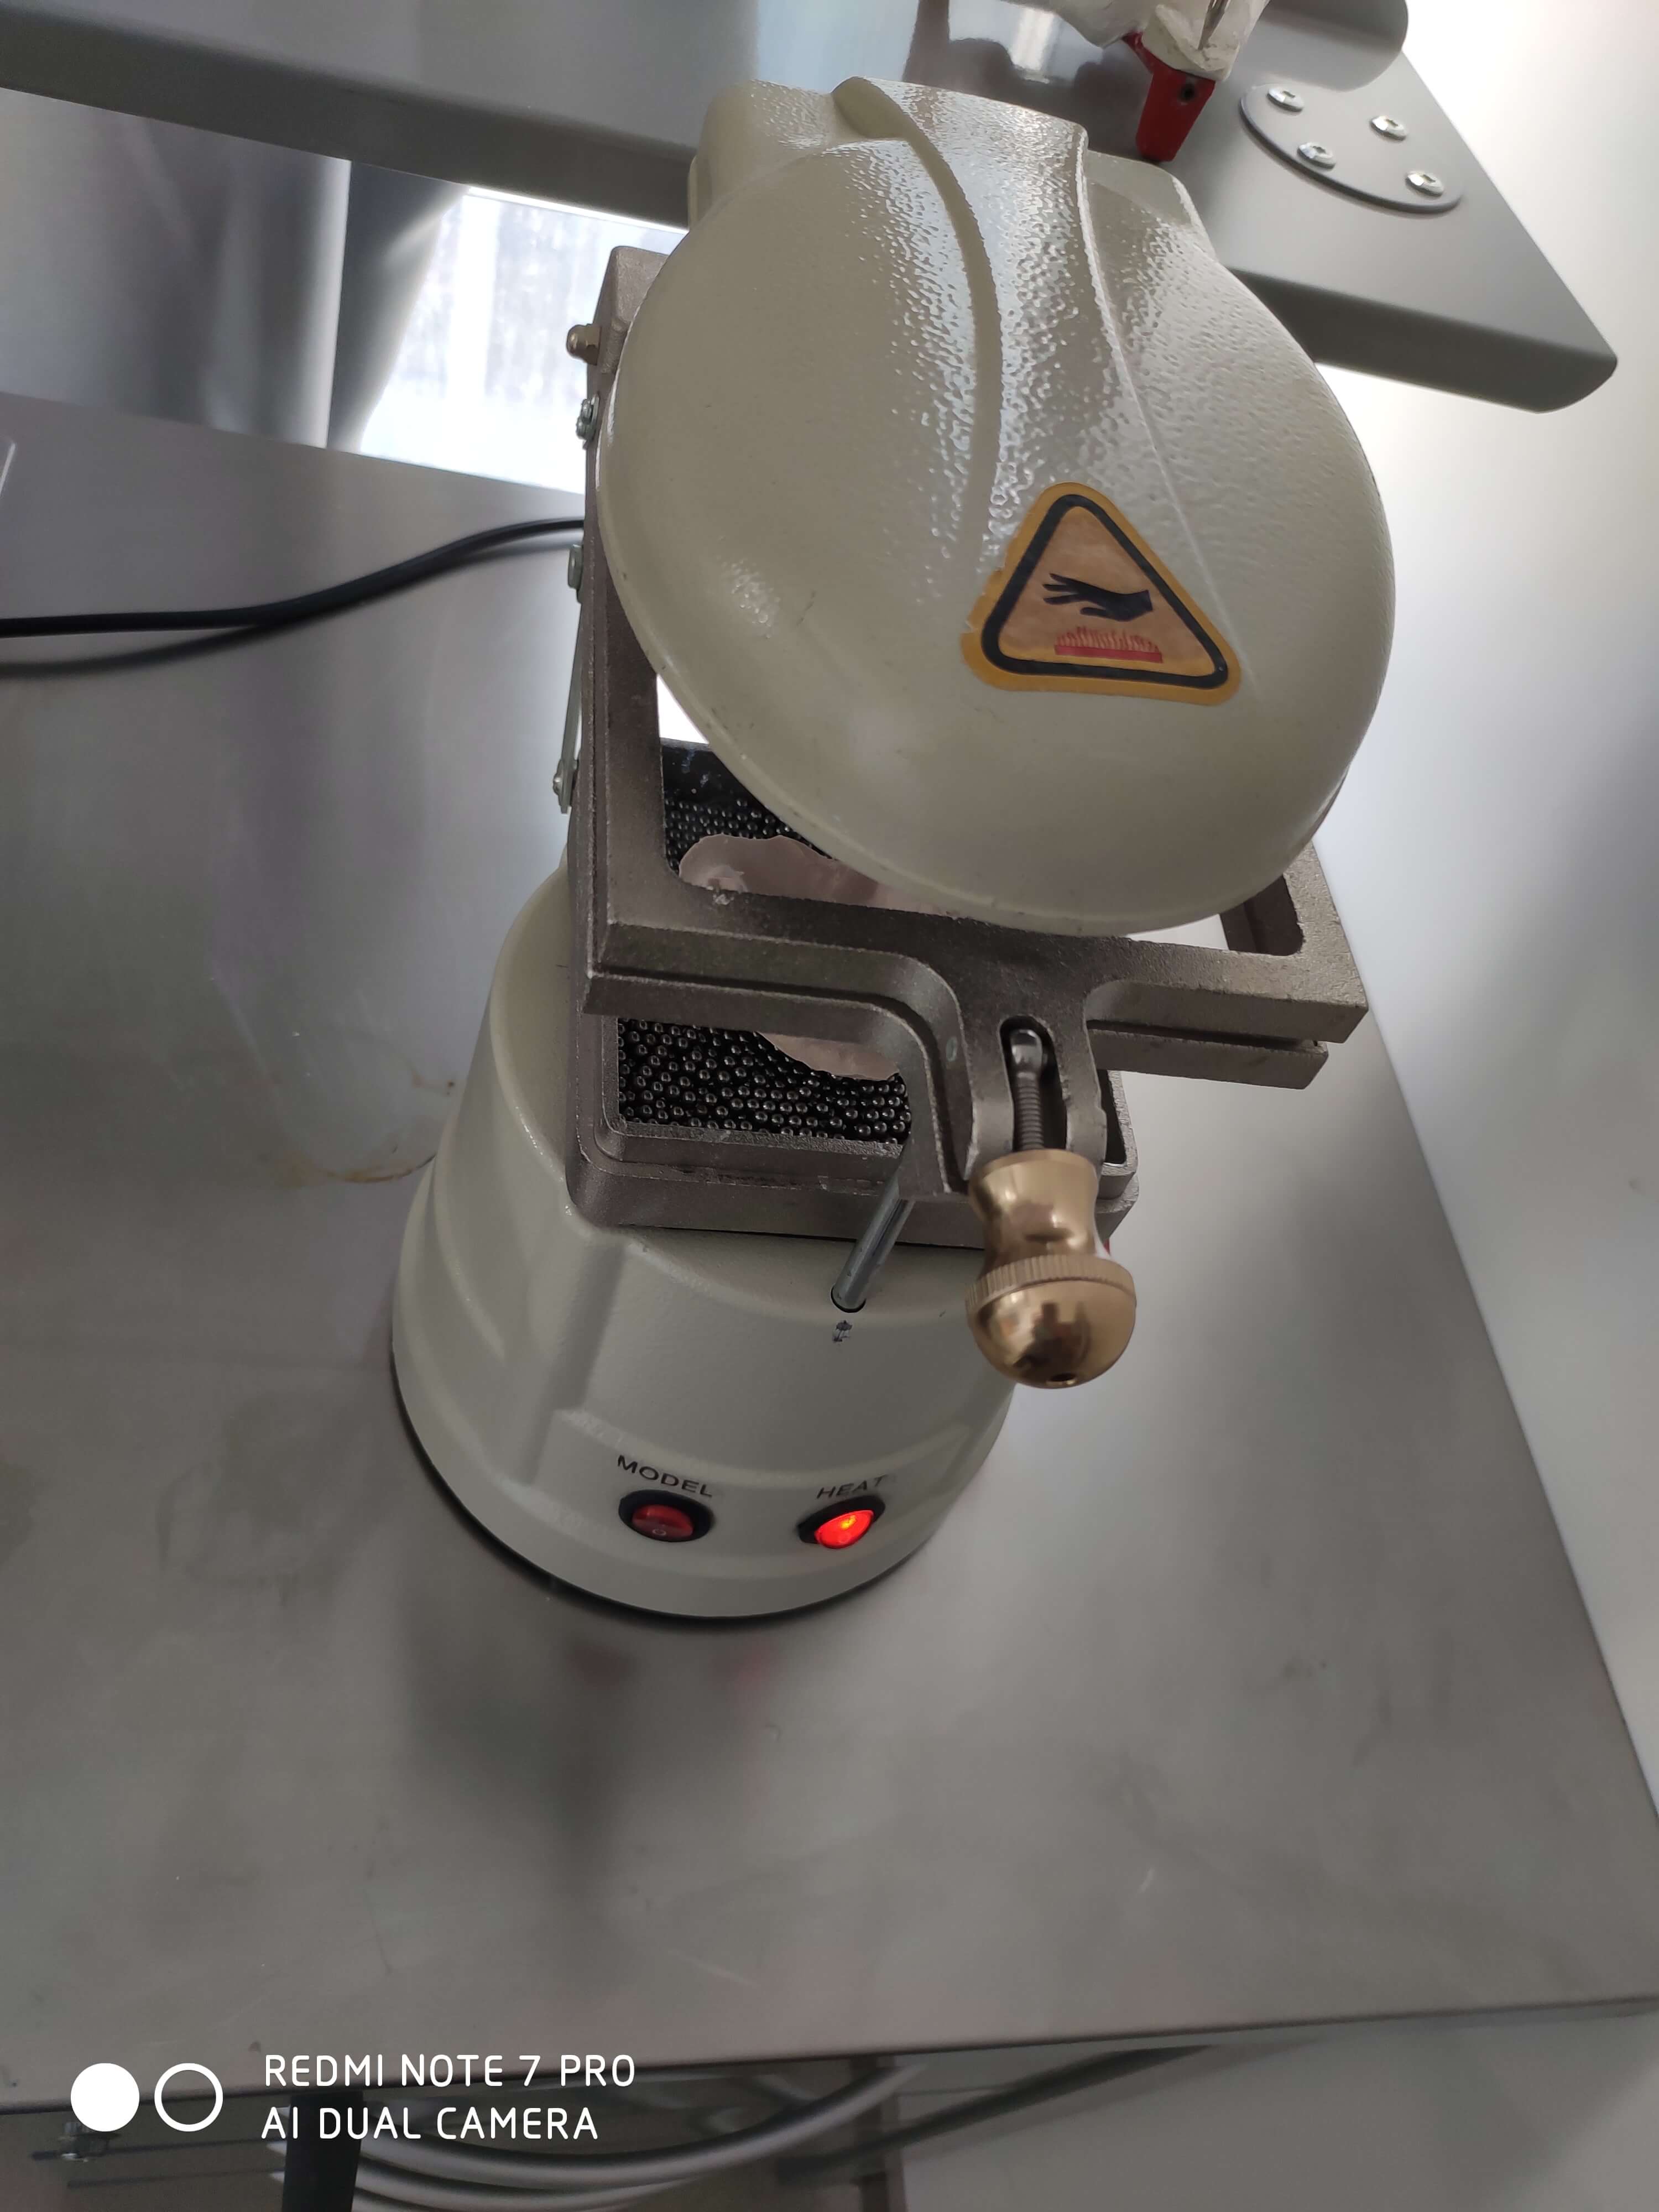

- Turn off the heating, pull down the frame with the sheet, turn on the vacuum, and pull down the lever.
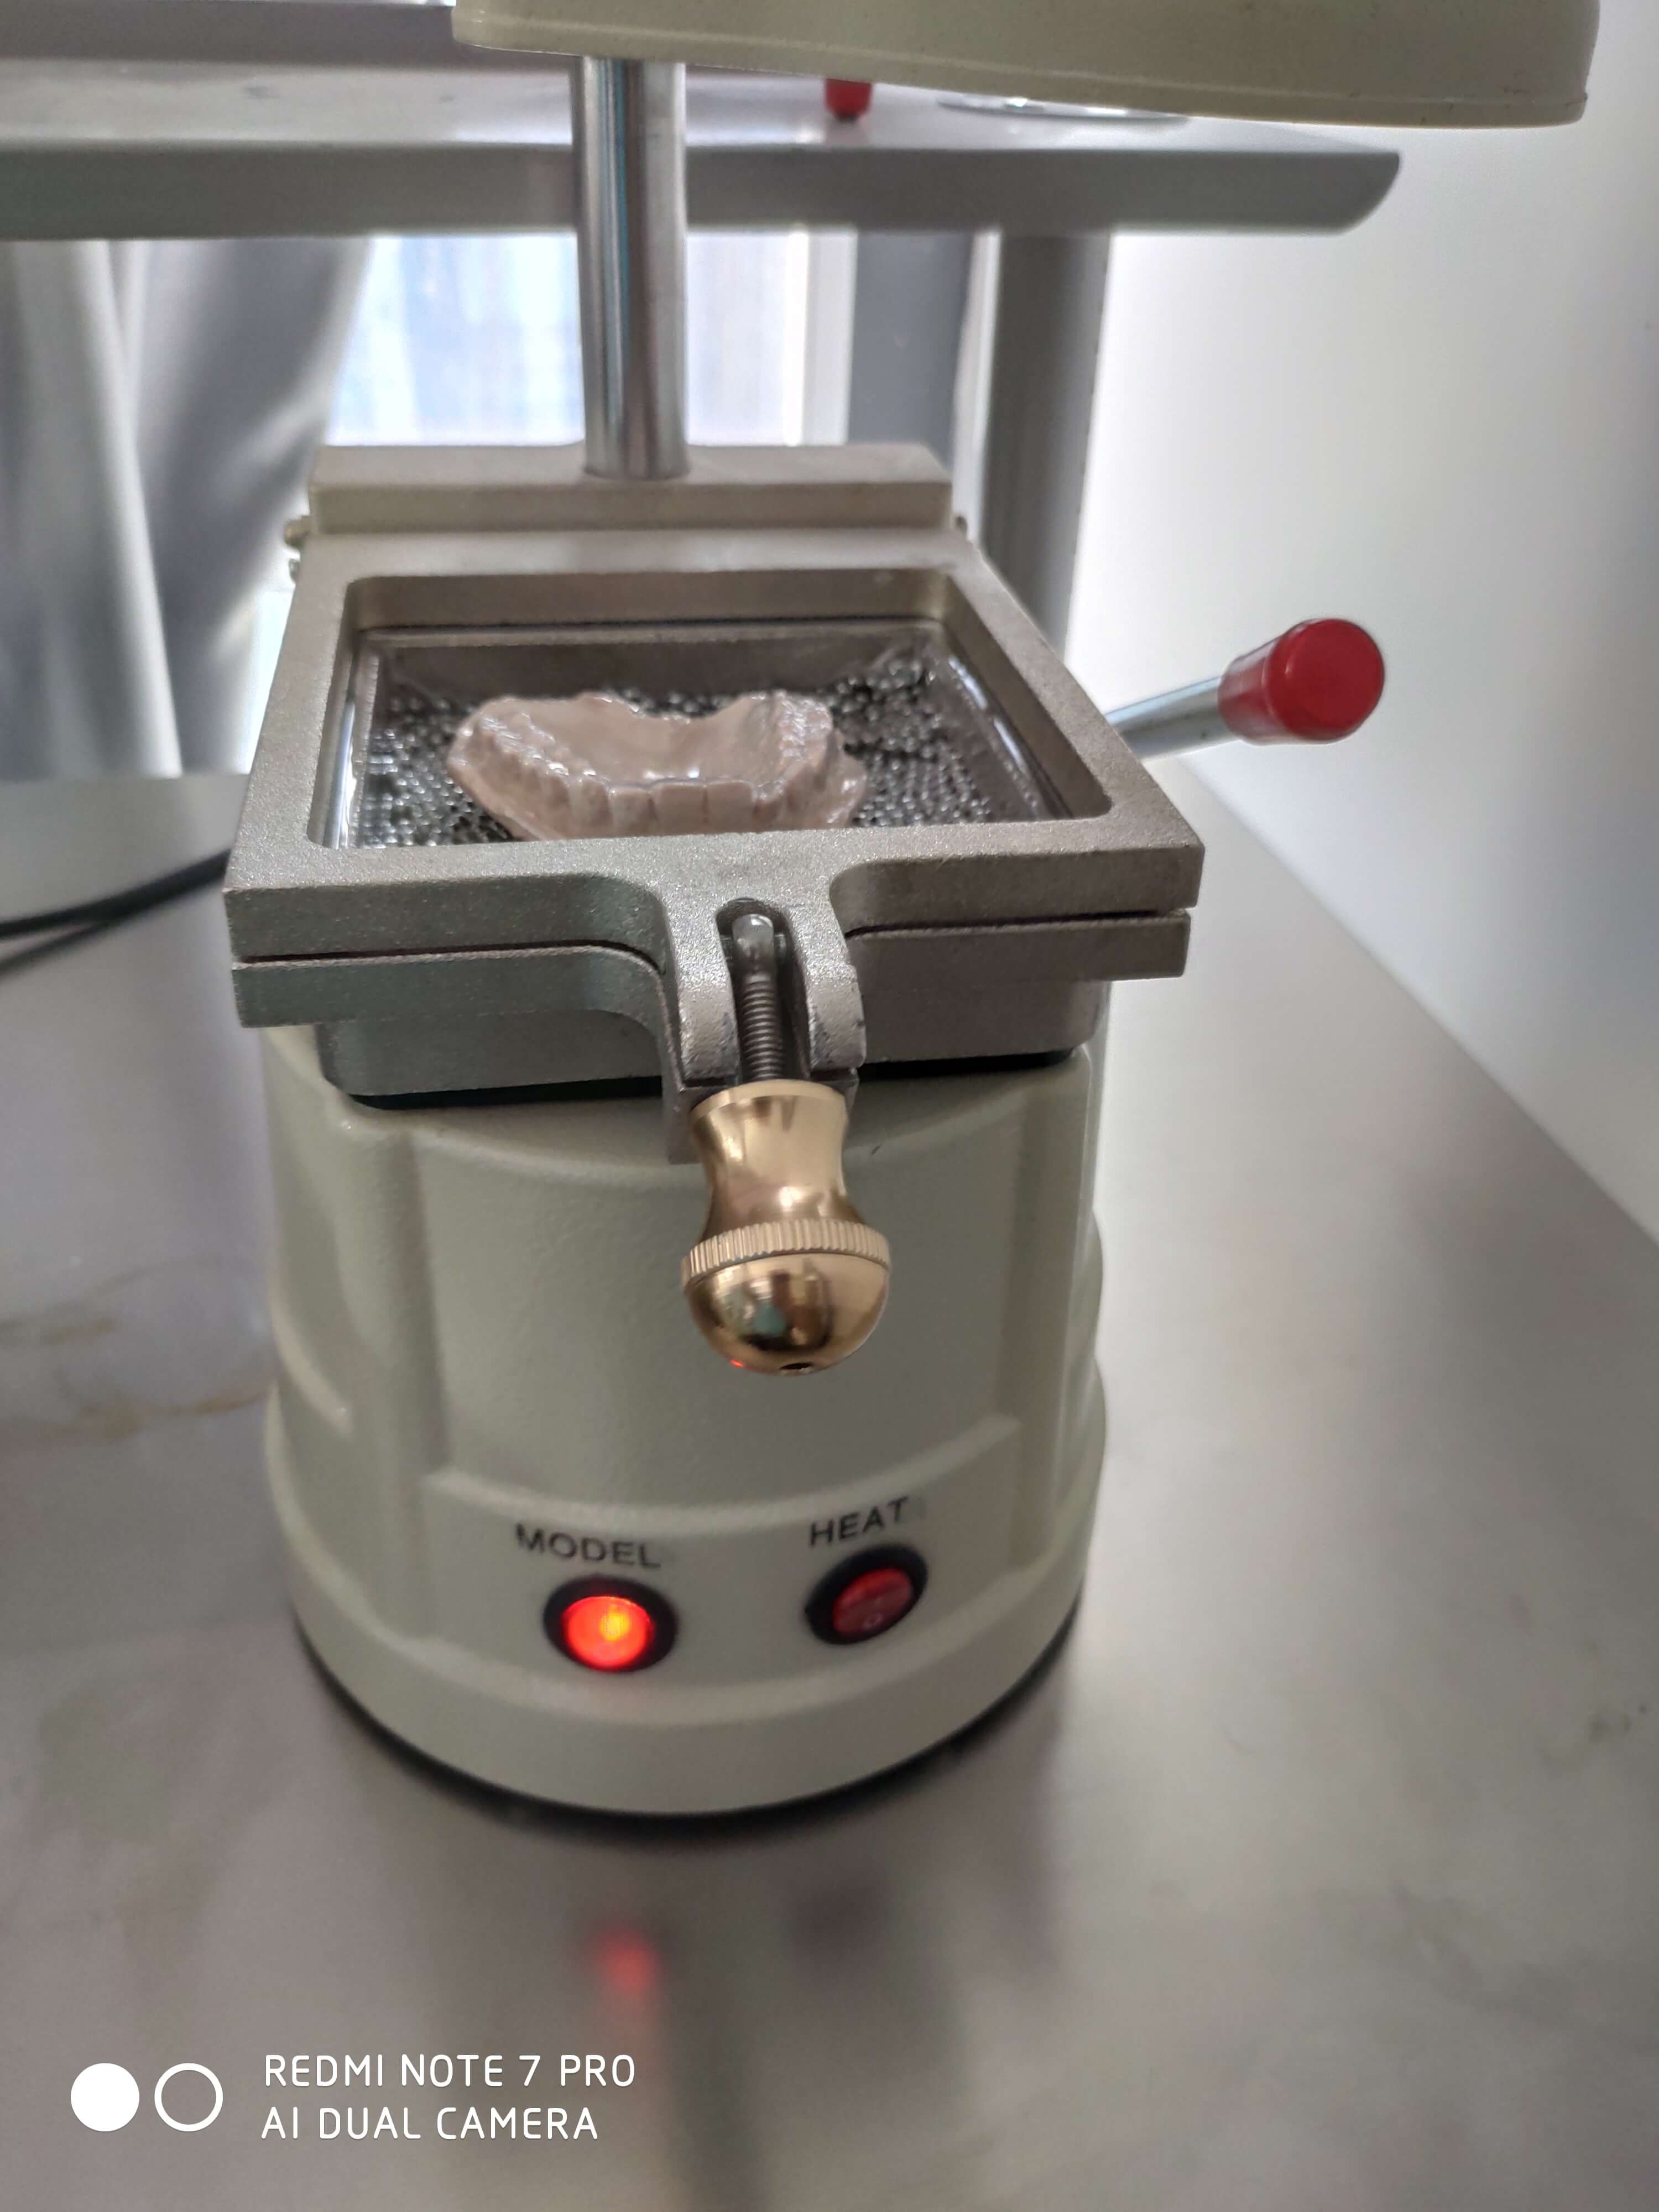
- Wait until it is completely cooled, then turn off the vacuum.
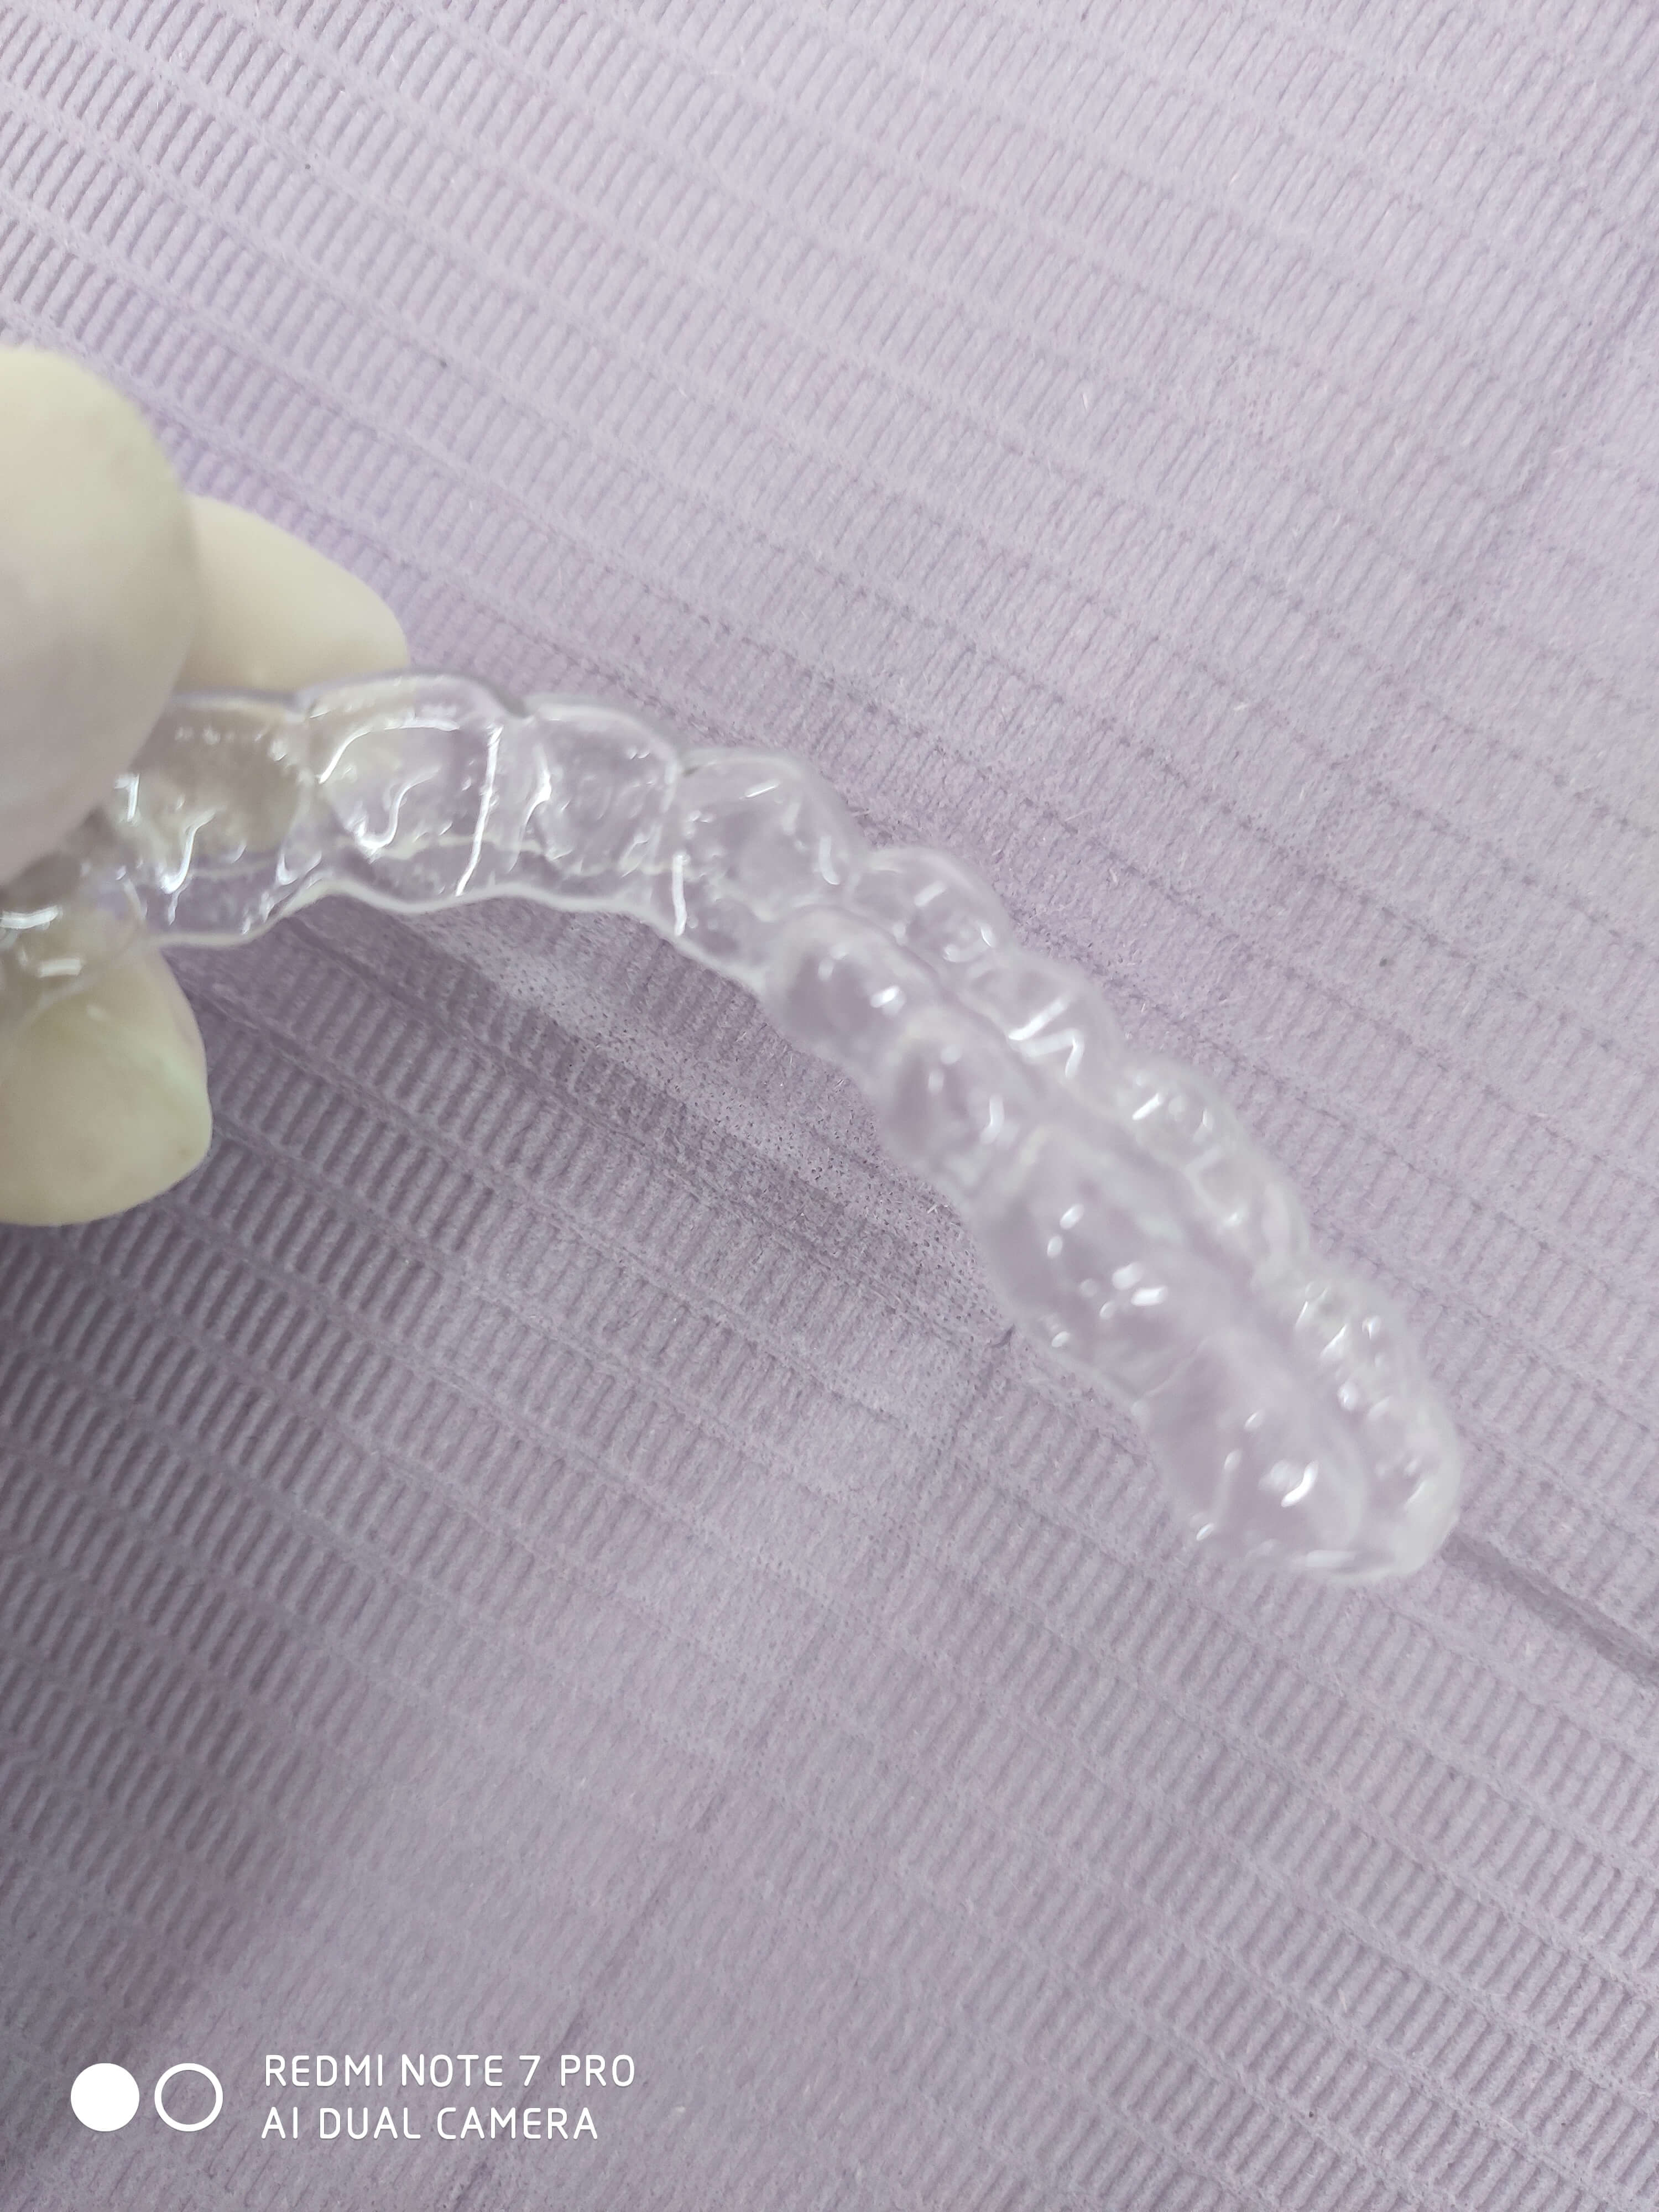
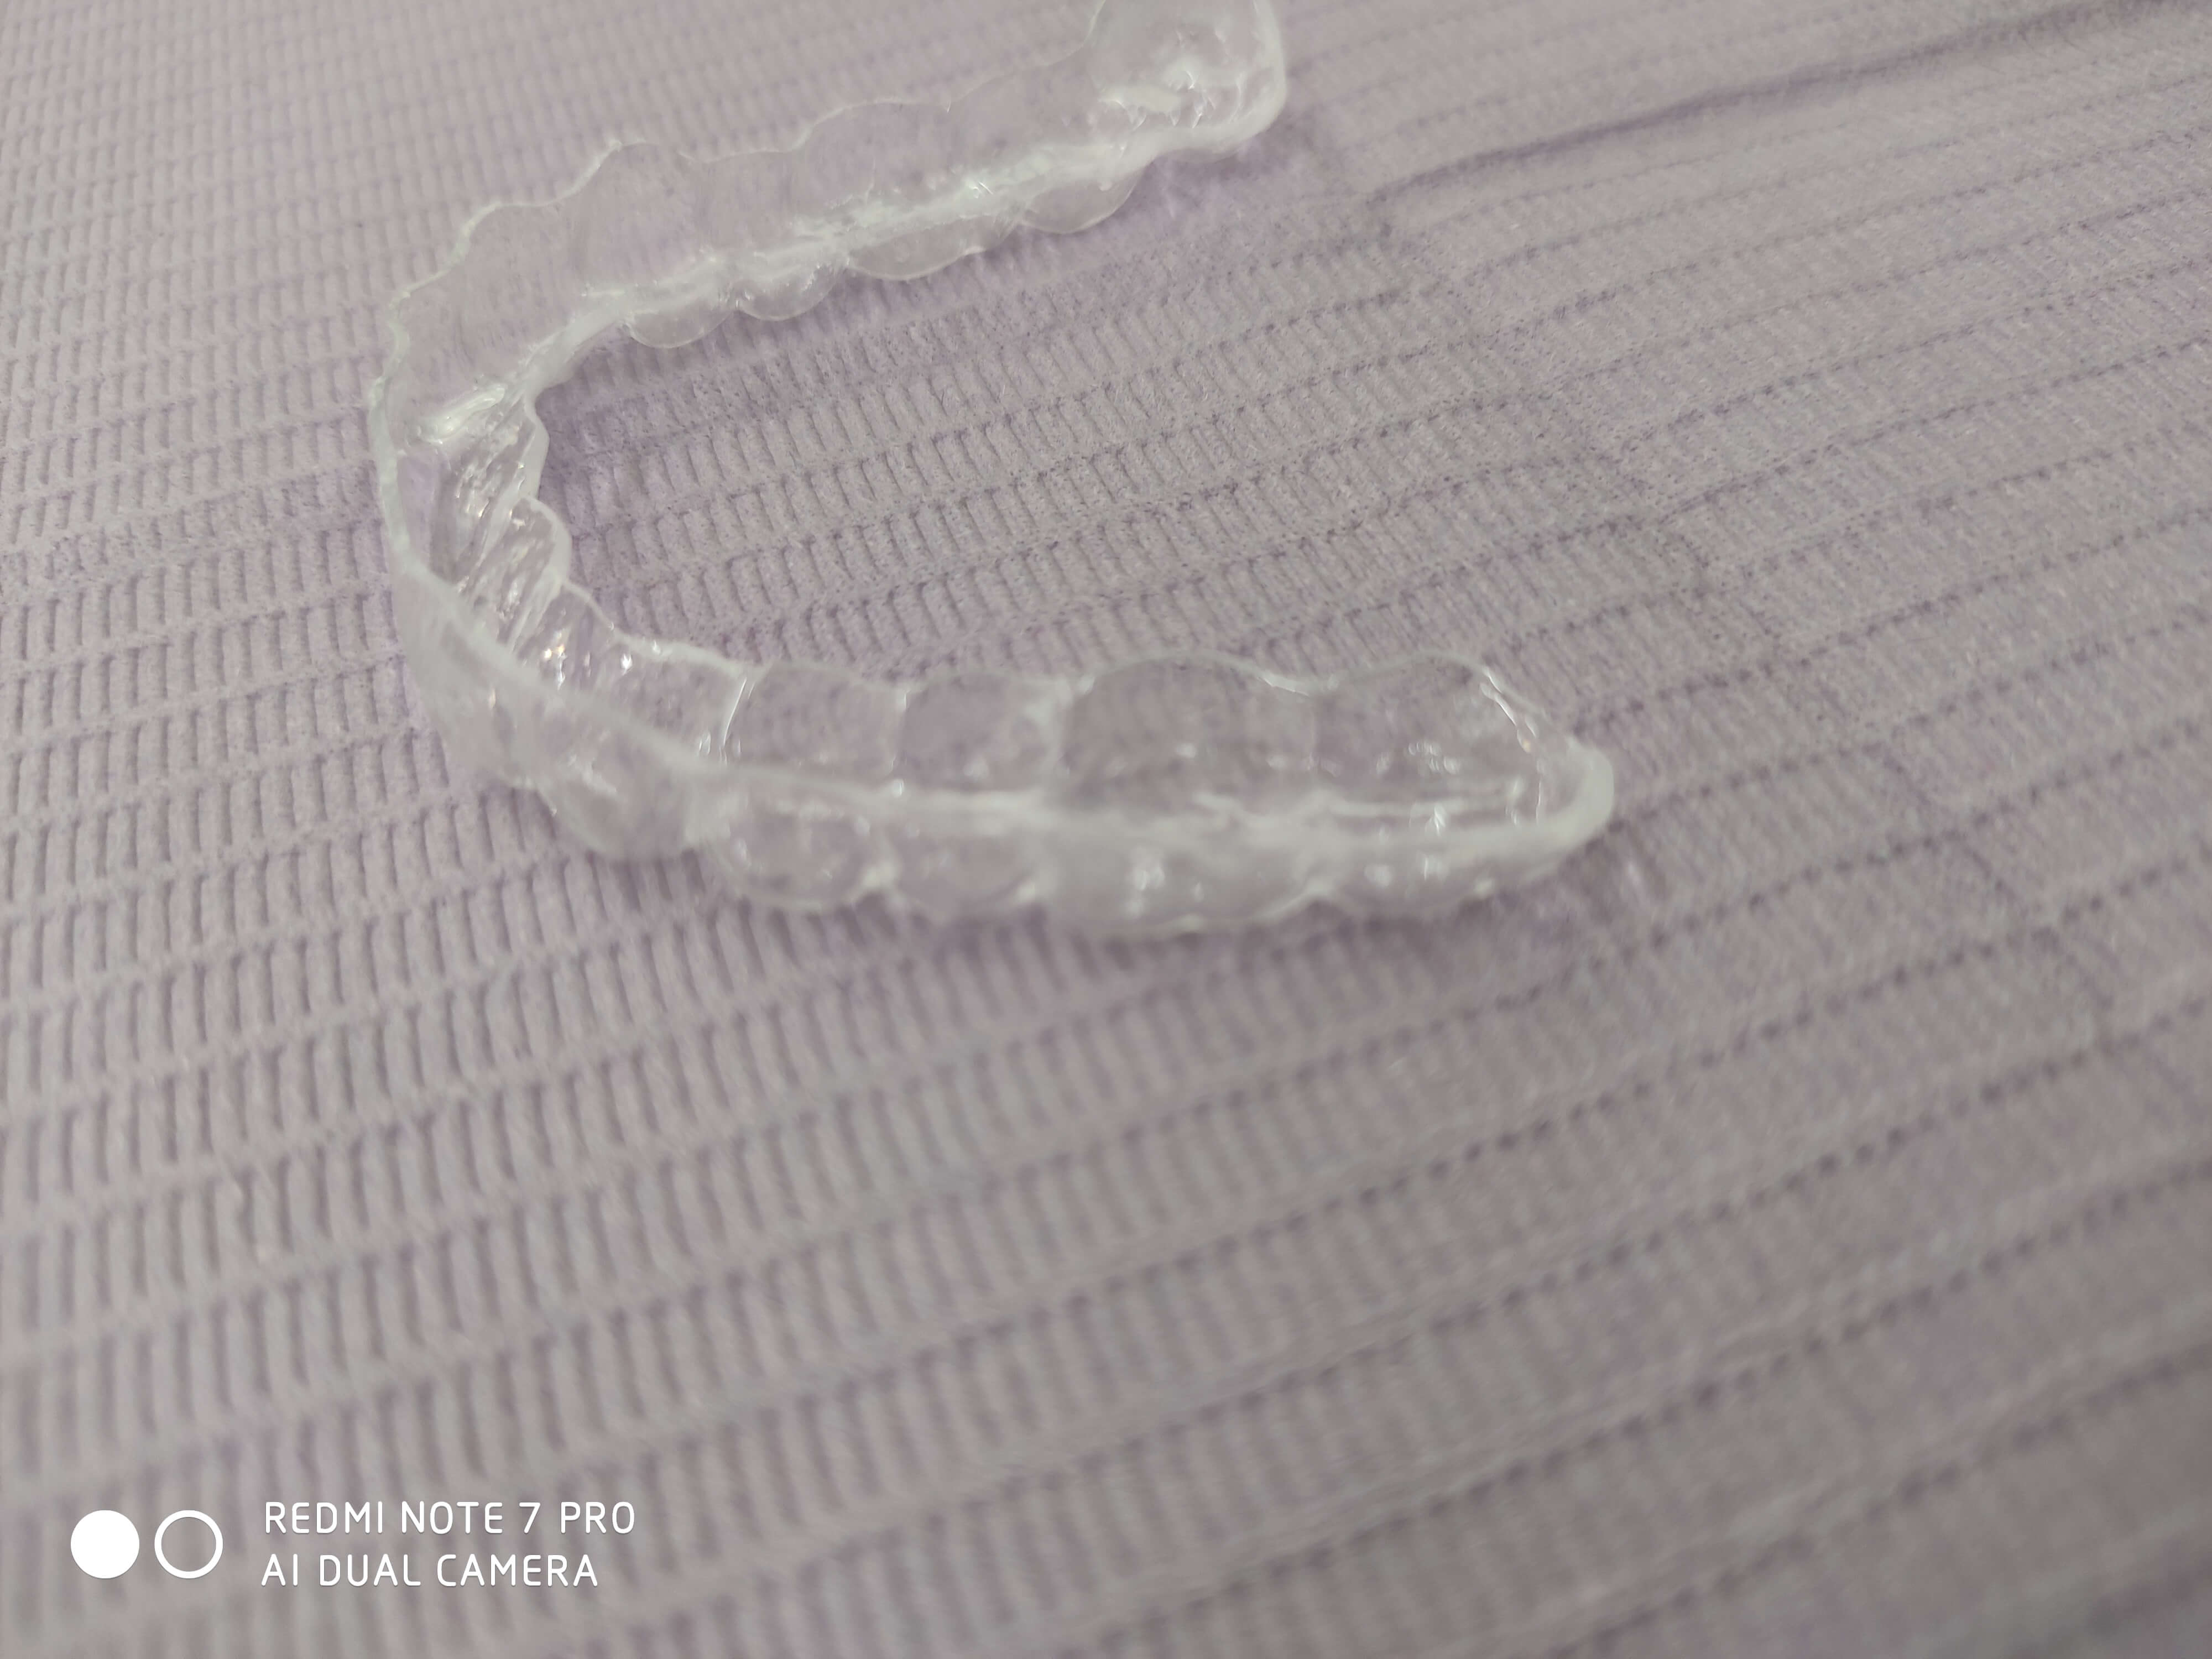
Grinding/Finishing
- Adjust according to the situation. Simply put, do it similarly to the way Invisalign aligners are finished.
However, I will still post my operating steps here.
- Separate the model and the formed sheet.
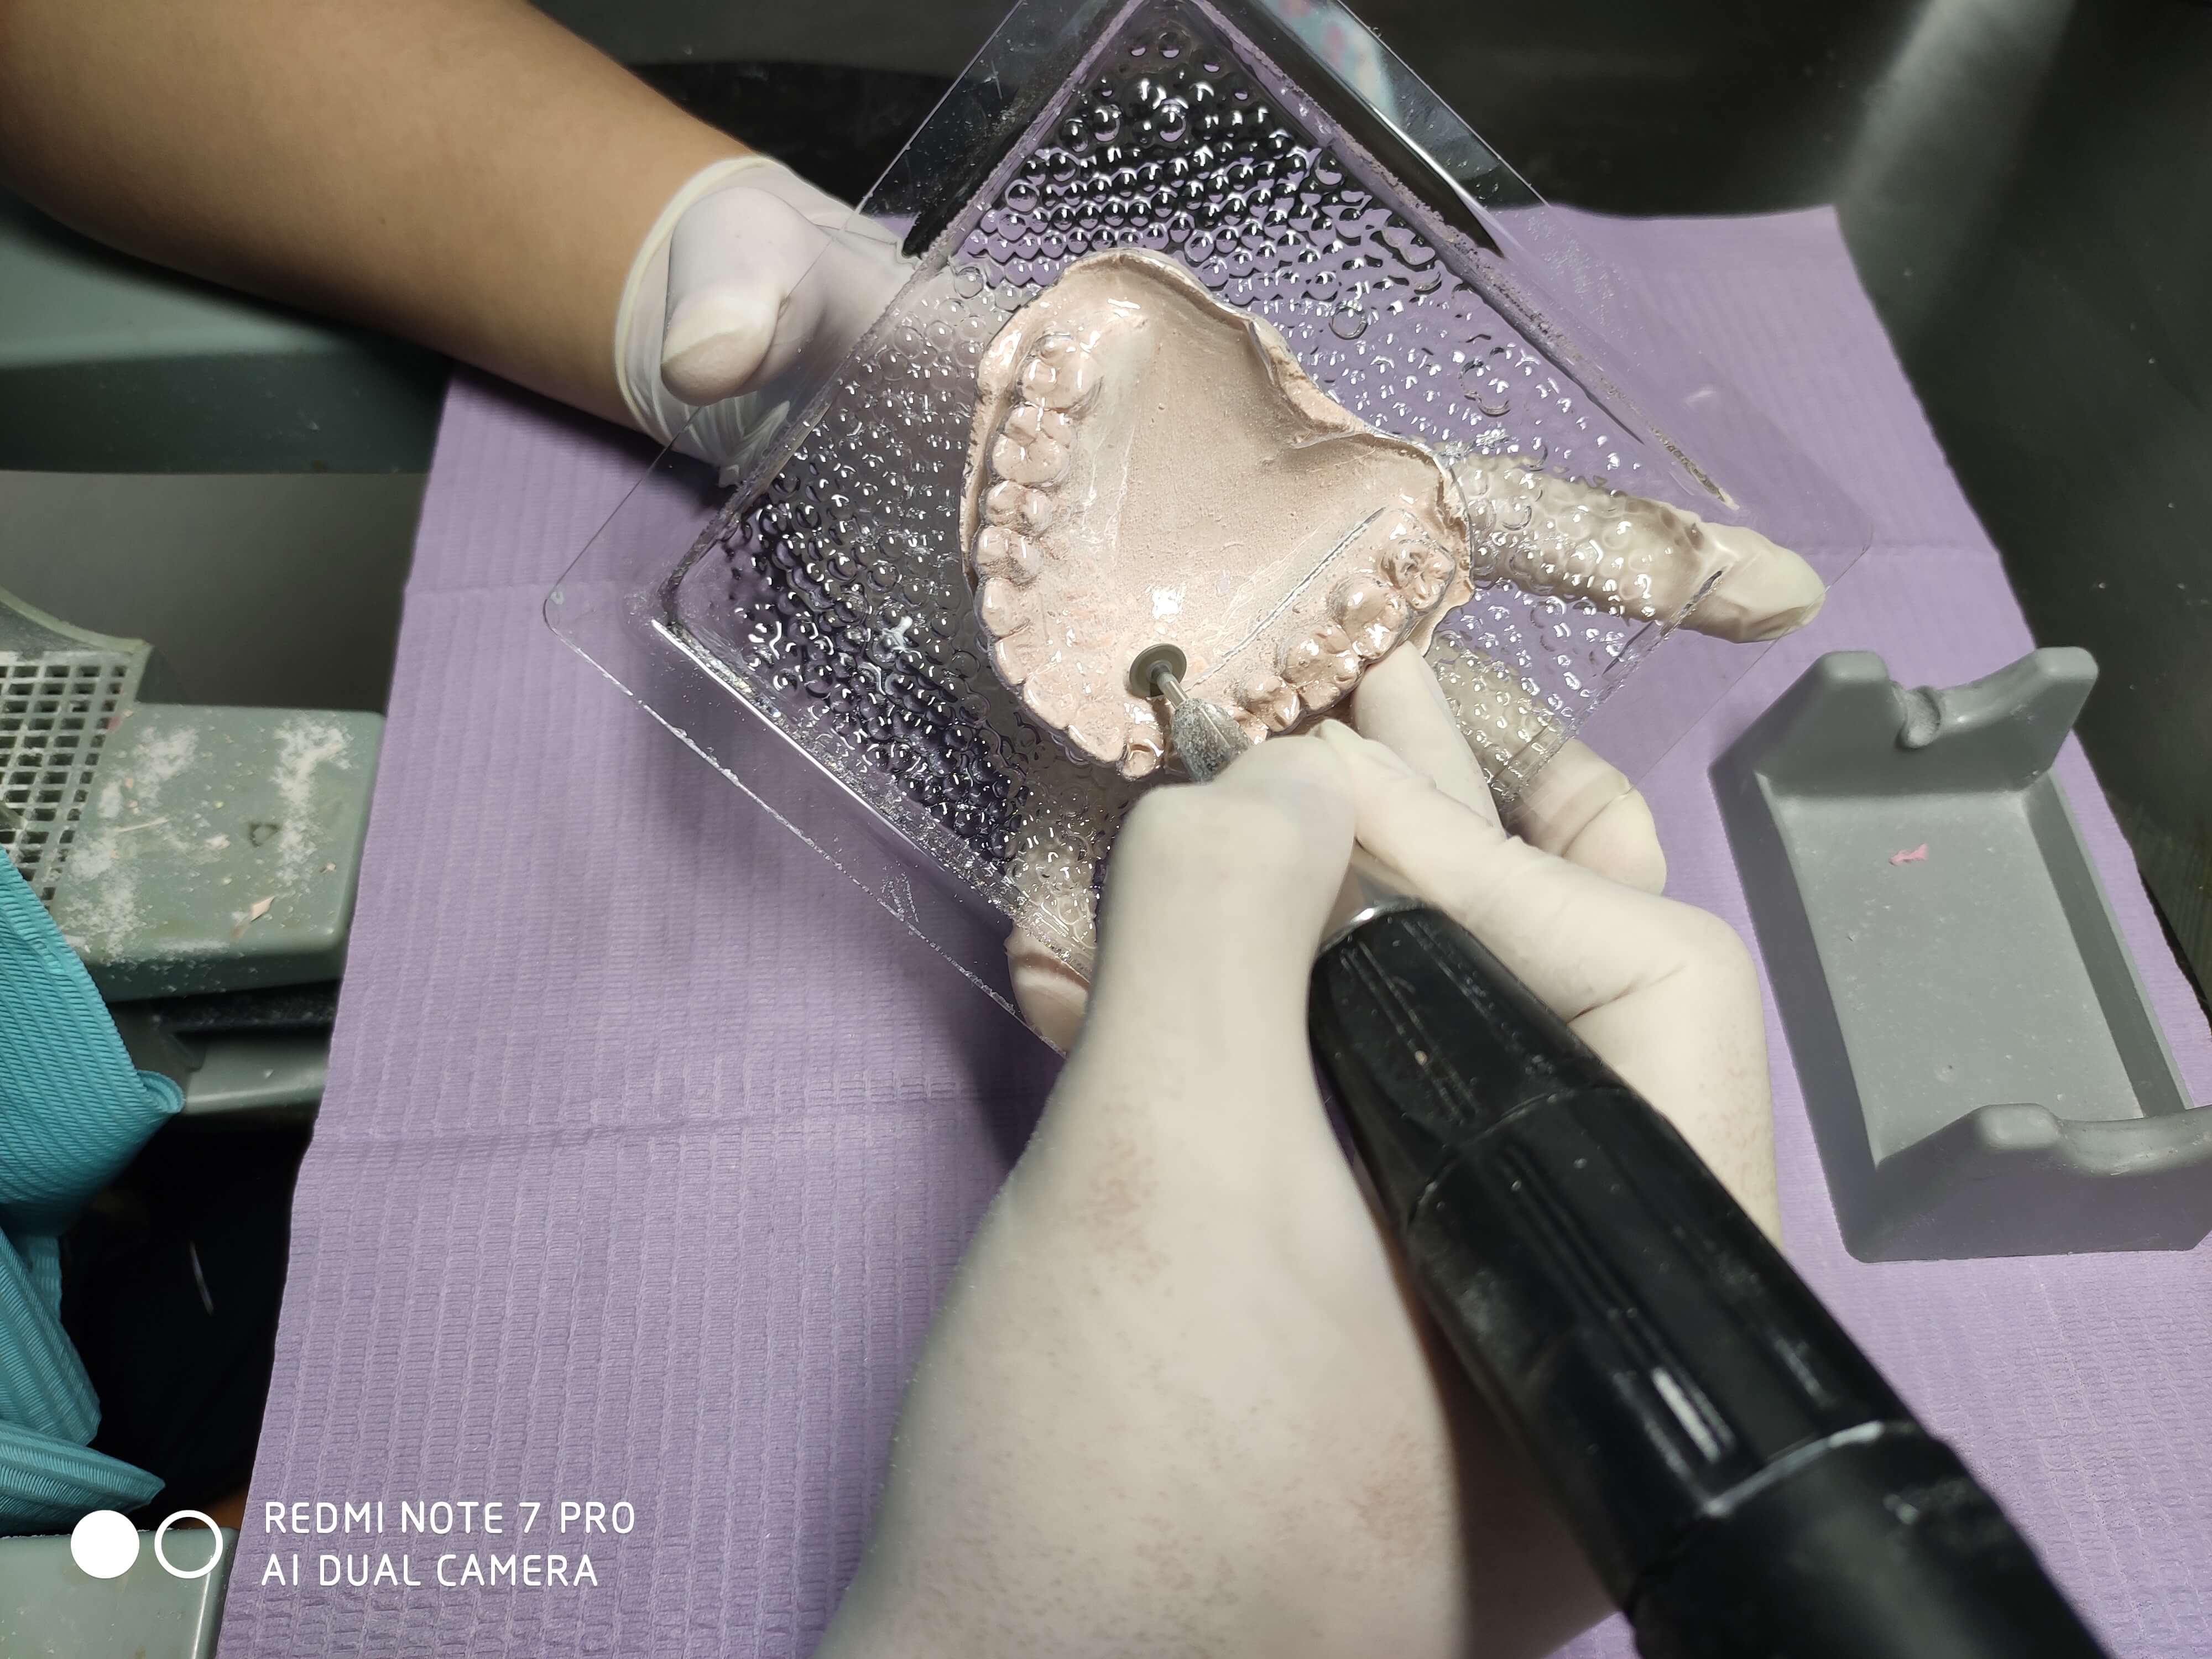
- Use a T-shaped bur to roughly outline the shape, then remove the retainer-to-be for processing.

- Use a bullet-shaped bur to trim to about 1mm from the gingival margin.
- Use a polishing wheel for fine finishing.
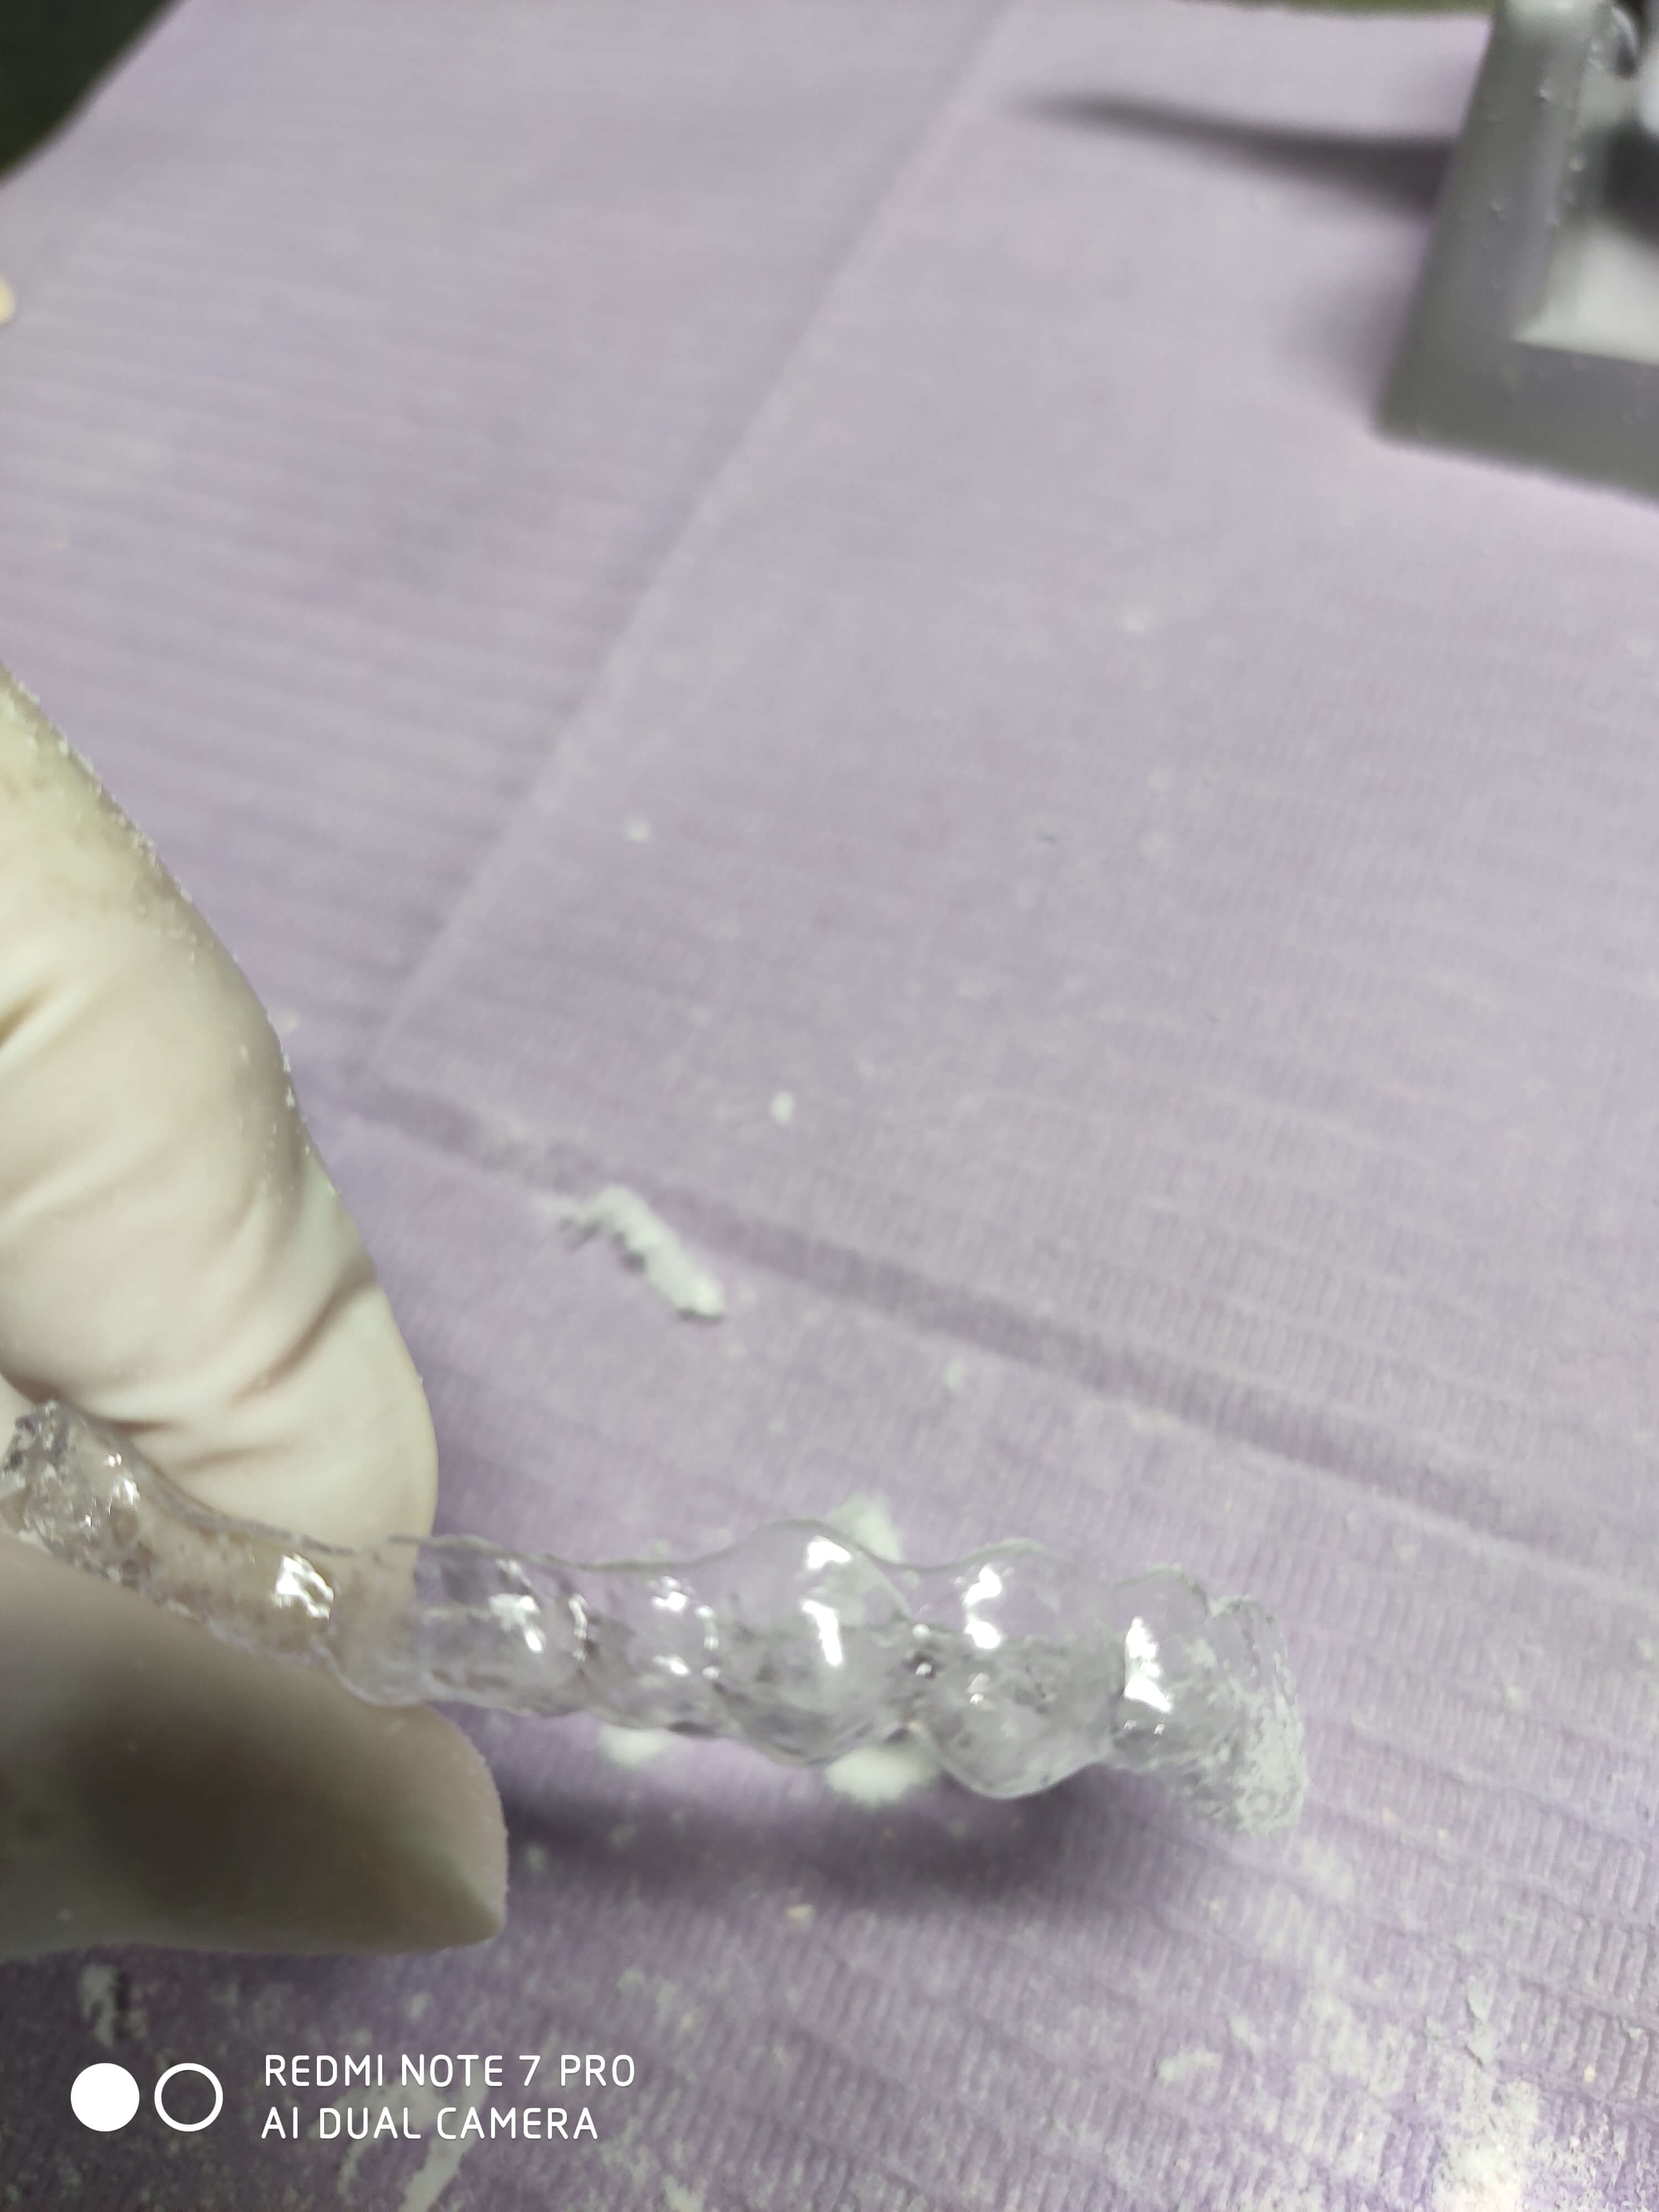
- Use a wool wheel with water, at low speed, to remove burrs.
- Use a surgical blade to remove any rough edges.
Patient Instructions
The transparent vacuum-formed retainer is aesthetic and comfortable, but improper use can easily lead to breakage or tearing. Mastering the correct usage method is crucial for prolonging the retainer’s lifespan.
Wearing Schedule
- First Year: Wear 24 hours a day. Remove when eating, brushing teeth, or drinking colored beverages.
- Second Year: Wear every night during sleep.
- Third Year: Recommended to wear every other night or a few nights a week during sleep.
Wearing Method
- Always use both hands simultaneously to insert and remove the retainer. Do not bite it into place if it’s not fully seated, as this can easily cause the retainer to break.
- Always remove the retainer when eating and drinking colored beverages.
Preventing Loss
The transparent vacuum-formed retainer is invisible and transparent.
- When removed during meals, if wrapped in a tissue, it might be mistaken for trash and discarded.
- If soaked in an ordinary glass, it might be thrown away (it’s hard to notice when soaked in clear water).
Please always store the retainer in its dedicated case to prevent loss. If the retainer is lost or damaged, please contact your doctor promptly to have a new one made.
Cleaning Method
- Clean carefully with a toothbrush each time you brush your teeth. Do not use toothpaste as it may affect the transparency of the retainer.
- Soak and disinfect with denture cleaner tablets once a week.
- If the retainer will not be worn for an extended period, store it soaked in cool water.
- The retainer cannot be disinfected at high temperatures, as it may deform.
Afterword
Although the vacuum-formed retainer seems simple, there is a lot of hidden knowledge involved.
- Hawley retainers are relatively complex to make, bulky, but durable and easy to adjust.
- Vacuum-formed retainers are simple to make, comfortable to wear, aesthetic, but prone to damage.
However, most importantly, the retention effects of the two types also differ for various malocclusion types. Orthodontists should consider both the pre- and post-treatment dental arch characteristics and the patient’s compliance to choose the retainer type that suits the patient best.
A long journey begins with a single step; a great river is formed from many small streams.
I hope everyone puts their heart into crafting each retainer. The role of the retainer in orthodontic treatment is self-evident.
Persevere consistently. One day, when you suddenly look back, you will find success where the light shines.